


Today is preview day two for the Little Paper Shop's sweet new set
{Katie Carousel}
It releases with the new digital images tomorrow!
{Katie Carousel}
It releases with the new digital images tomorrow!

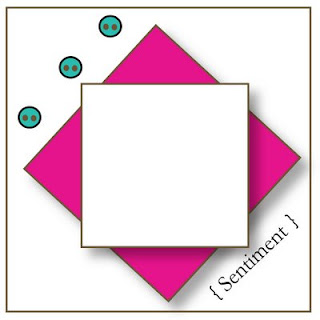
1...LPS Sketch challenge (with a prize)
2...Template for a 2 5/8" box (and lid-slash-base)
3...How to build & embellish the box
-1-

This sweet sketch is for the newest LPS challenge:
You can read how to play--and hopefully win :o)
on the LPS blog here:

You can read how to play--and hopefully win :o)
on the LPS blog here:
-2-

Click this link to Download the
2 5/8" square Box template
(or click the pictures below for JPG format):


Click this link to Download the
2 5/8" square Box template
(or click the pictures below for JPG format):


-3-

...make a 2 5/8 inch box
with a scalloped base

- Turquoise cardstock Core'dinations super assortment (ROY G. BIV)
- Real red cardstock (S.U.)
- Various Basic Grey 6x6 paper packs
- Scissors, Pencil, & Eraser
- Tim Holtz Design ruler & homemade scoring tool
- Scallop edge punch (Stampin' Up!)
- Copic marker (Coral R-35)
- Glue Stick
- Double-sided tape

Step 1} Make the base:
A) Print the square box bottom template directly onto coredinations cardstock
B) Cut it out
C) Score it

Step 2} Make the lid & base:
A) Print, cut & score the matching lid template
B) trace it two times: once for the lid (flowered) & a second time for the base (red). Cut out the lid & base pieces.

Step 3} Strengthen the base:
A) Glue the base template onto a piece of cardstock (to make it strong enough to support the box)
B) Cut it out & score it

Step 4} Scallop punch all the sides of the base

Step 5} Put it all together:
A) Assemble the base
B) Stick it to the bottom of the box
C) Put the lid together

Step 6} Paper piece the bottom & top of the carousel (the embossing is done in Silver here & I've added some red stitching on the carousel top and stitched some beads onto the carousel base)

cheap trick: colour patterned paper pieces with Copic or
other markers to get the look you like. :o)

Step 7} Stamp Katie & the horses in black, cut it out, & adhere the top & bottom paper pieces of the carousel.
Since I was paper piecing I could cheat and...

...cut into the top of the image to make the snipping faster & easier
Step 8} Adhere the Carousel to the little square box and there you have it...
Hope your Monday is a playful one!


0 comments:
Post a Comment