...BUT you can use these cutting styles with any flower punched, digitally cut, or die cut (or a flower doodle you've drawn & cut out) anything at all. And...If you're a beginner cutter, no worries: you'll see from my cuts that there's no need to have them perfect. (Isn't the shabby chic look liberating?)
Viewing pointer: All of these photos are click-able to enlarge [so you can see those shabby chic(?) cuts up close.] ;o) & If you hold the "control" button, you should be able to zoom in & out with your mouse wheel. Just click your back button after, if you'd like to return to this post.
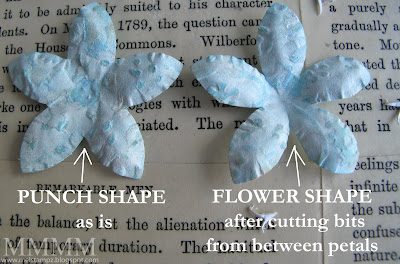
BEFORE snipping.................................AFTER snipping:

snipping detail:

Cut 5 little 'V' shapes out from between petals.

Cutting into the middle of the flower makes it easier:

(See the gap to the left of the top petal of the flower above?)

Just snip in and then roughly cut out the center:

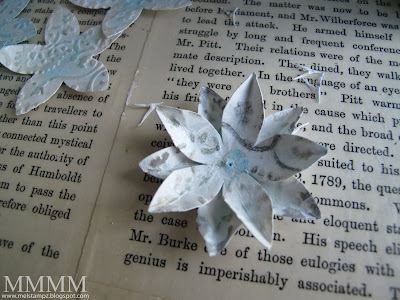
That cut gap bit is all hidden when you glue the flower together:

Add any center you like:

Here's the same flower in teal:


For a more graphic or stylized version,
you can create squared petals on a smaller flower center:

...by cutting off the 5 petal tips:

(super fast floweriness)
Then use the same cutting method, as used on
the 1st version above, to take out the center:

Snip a little ways into the middle and....

...cut away.
Glue the new smaller center you've cut
onto a bigger flower & add an embellishment:

This one has a wee button sewn on.
And last but not least, Happy Easter to those who celebrate,
and happy Spring to those who don't. Here's hoping that your season
is filled with bright new possibilities & blessings!
and happy Spring to those who don't. Here's hoping that your season
is filled with bright new possibilities & blessings!
P.S. If you missed how to get these textures, and you are interested,
please see this post...
Embossed fresco flower tutorial:
(embossing, colouring, painting...)


please see this post...
Embossed fresco flower tutorial:
(embossing, colouring, painting...)


0 comments:
Post a Comment