StampznewBright

  • Subscribe to our RSS feed.
  • Twitter
  • StumbleUpon
  • Reddit
  • Facebook
  • Digg

Friday, 30 April 2010

Oh Man oh Man is this BIG fun!

Posted on 10:00 by Unknown
I'm spending quality time with Mr. Migraine (a 3-day retreat LOL) & my dies are still on their way to Canada (oh yeah Baby!) but I didn't want you to miss out on the buzz!

MFT is ultra excited to be introducing...


(they work in all kinds of machines, they're top quality steel,
exclusive to MFT--with crazy fun shapes & wait until you see what they cut!)

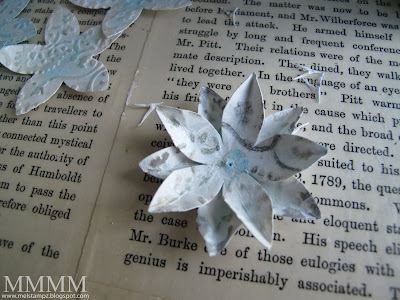
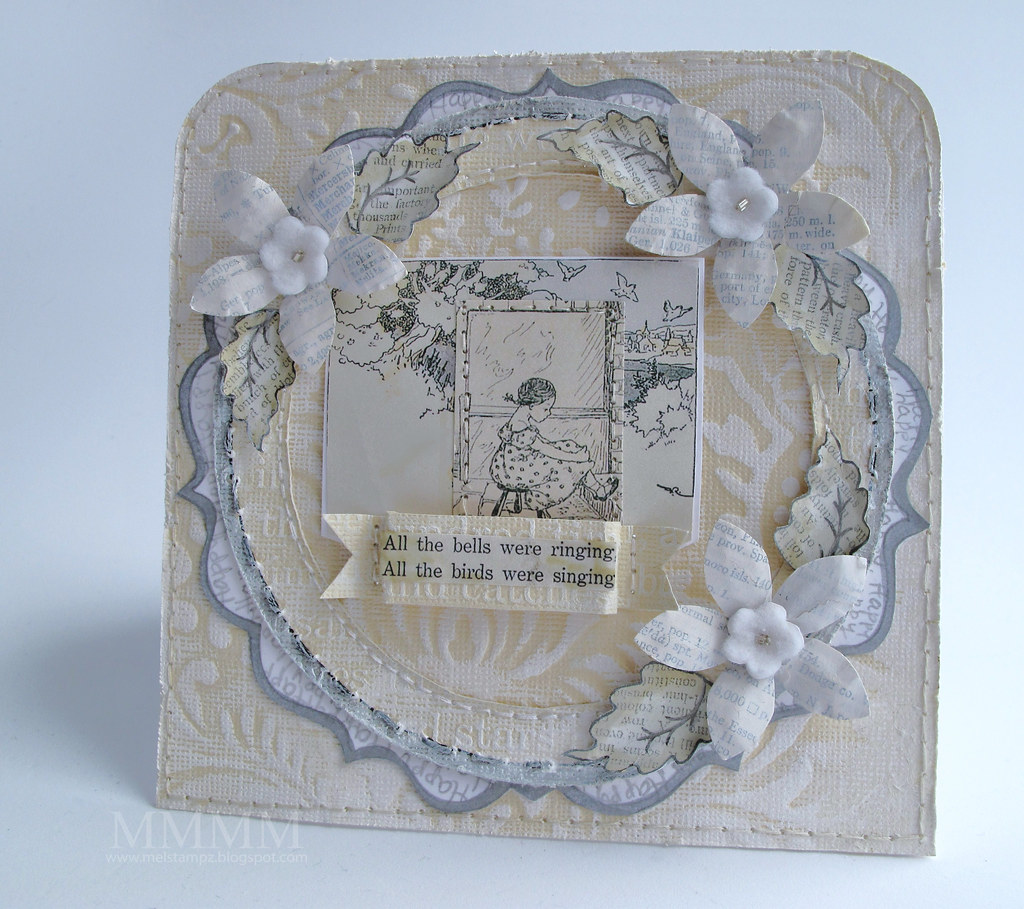
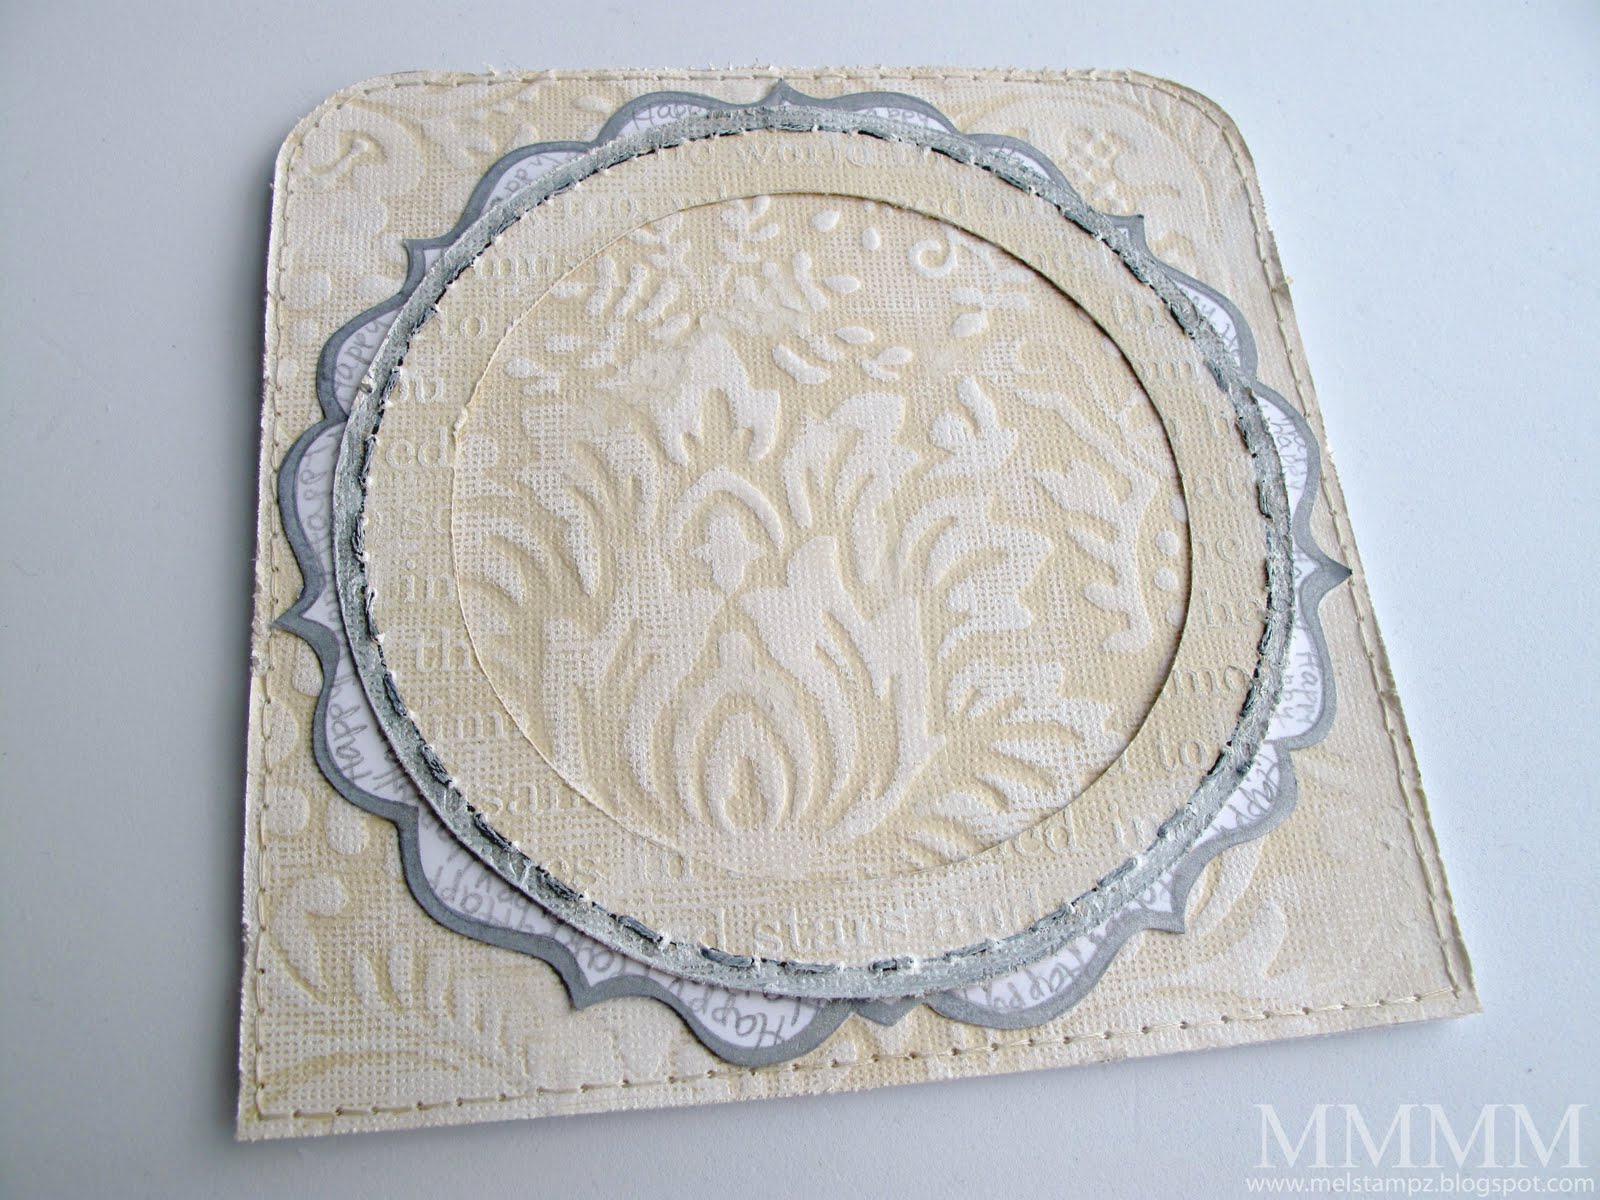
I loved drooling over everything that the
amazing MFT gals created with them:

You can get a peek at it all here (linked up) on
Kim's Blog

I am just die-ing to get my hands on 'em. ynuk ynuk

CloudsSMALL


Die-namics Clouds $14.95

Small – 1.25” wide and .70” tall
Medium – 1.89” wide and 1.06” tall
Large – 2.51” wide and 1.41” tall


Die-namics-Jumbo-Scallop


Die-namics Jumbo Scallops $10.95

This die is an edge die that is 6” long, with each scallop measuring 1.5”


Die-namics-Scalloped-ScallopSMALL


Die-namics Scalloped Scallops $10.95

This die is an edge die that is 6” long, each scallop measuring 1.5”


Hope you have the most beautiful day,
Read More
Posted in My-Favorite-Things | No comments

Thursday, 29 April 2010

2 Challenges--Pure Innocence Collage Shadow Box

Posted on 16:21 by Unknown
I'm so lucky that You're so bloomin' wonderful!


(MFT Pure Innocence 4 leaf clover turned flower)

Hey, You lovely crafty people You! Thank You so much for your continued wonderfulness. I feel so stinkin' lucky! You're beyond amazing. I went for a fabulous walk on the trails near us the other day & have been getting things in order around here: taxes; cleaning; unpacking some more; enjoying Mouse's antics. It's great!

Caardvarks Core'dinations MFT Pure Innocence shadow box mel stampz

This project came complete with one of those "DUH, Why on earth did it take me so long to think of that" moments....

You guys know I love a collage texture look, and I've rambled on in the past about how it can make faces look splotchy when you stamp on it, and about how you can use paint to fix that...

Well for this, I just collaged the background & did the Pure Innocence figure normally on regular paper; then, cut her out and stuck her on.

Caardvarks Core'dinations MFT Pure Innocence shadow box DETAIL mel stampz

Et voila! No blotchy complexion! (DUH! Something that probably occurred to all
of y'all a million years ago, but I was excited. LOL)


Today's way to "work smarter not harder" is to try what some crafty gurus of mine seem to have mastered: combining challenges. Is it a major no-no? I'm not sure, but here it is anyhow... lol

So, this card & how-t0 is for both...

This is for the

Core-dinations Monochromatic
Challenge here.

Sponsored by


&
this is inspired by
the Cuttlebug Challenge Blogspot

Shadow Box Challenge #80 which you can see here.
&
There are some fabulous tutorials by Maggie here & Tammy here.

I didn't get my photo to Meda in time to join in on the Cuttlebug Blog (sorry Meda) but I did want to try and get back into the swing of the challenge thing by posting this tutorial even if it was late. Challenges add so much zeal to your crafty life, don't they?

fresco flowers cuttlbug paint copic sand mel stampz


...make this collage shadow box:


  • Core-dinations Jenni Bowlin Studio Core Impressions Collection
  • MFT Pure Innocence 4-leaf clover clear stamp set...
  • ...stamped on Perfect paper panels
  • ...with Black Brilliance ink, clear embossing powder & a heat gun
  • Heavy weight 100lb white Sweet tooth cardstock (to glue everything to)
  • Mod Podge & a brush to collage: Old book pages, Nursery Boy RP 78 paper by the Bottled Image Paper Co., vintage bridge score sheets, & white tissue paper.
  • Sanding block, White acrylic paint, Copic Markers
  • Paper cutter/Scissors, Scoring tools, Paper piercer
  • Glue Glider Pro Perma Tac, Beacon's 3-in-1
  • Paper piercer, needle and blue & beige embroidery thread, seed bead
  • Homemade flowers


Step 1) Glue some torn bits of paper to a piece of cardstock (I used Mod Podge matte; I wish I had the acid free Mod Podge. Next time I get a Michael's coupon.) ;o)

(These papers are from an old book & that Nursery 12x12 paper from my way too sweet BFF Kim.)


Step 2) Allow the Mod Podge to dry & sand it a little.


Step 3) Paint on a thin layer of white acrylic paint (to reduce the contrast a little & let your image stand out.)

Here's a photo of the texture
(click to see it big in Blogger, if you like)


Yay for paint! :o)


Step 4) Stamp these images (with the one MFT stamp):

(I used the MFT Pure Innocence 4-leaf clover clear stamp set (but made a flower out of the clover instead & heat embossed these all in black ink with clear embossing powder.)
  • 1 whole image on the collage background (only as a reference, since it is TOO messy!)
  • 1 whole image on good colouring paper (thick cardstock makes it sturdy after you cut)
  • Two shamrocks (to make a flower.
  • 1 shirt/dress on cardstock with the arm raised
  • 1 shirt/dress paper pieced on book paper
Here are some closer shots of the dresses....
(The only slightly tricky cut was her arm)


In the photo above: the dress in white cardstock with the arm raised (one cut so it will sit over the paper pieced dress)


In the photo above: The shirt/dress paper pieced on book paper.


Step 5) Use the stamped body as a guide to position & stick on torn tissue paper (to make texture for the ground & clouds.)


Step 6) Shade the ground.

Little tip for colouring on paint/mod podge:
I used the chisel/broad tip of my copics, since that's the end I reserve for potentially messy colouring; the paint/mod podge might clog the tip. You could paint on refills or use a dedicated "messy" colourless blender to pick up Copic colours that you have scribbled on a block.

Or you could use markers other than Copics. Some other marker types (like SU/Tombow) may require embossing with clear embossing powder when they're added over paint/gesso/mod podge.)

Acrylic paints would work wonderfully.


Step 7) Glue full image onto the background & colour lightly


Step 8) Glue the white dress on (with the arm lifted) & then glue the book page dress over that.


Step 9) Glue one of the clovers on (coloured blue to make a flower instead of a shamrock)


Step 10) Glue on a second shamrock on to finish the flower (I also stitched on a teensy seed bead & added a wee leaf (doodled & cut out)


Step 11) Shade the clouds with pencil & add white details: The pencil is smudged using my finger tip & I added white raindrop & grass details with a white Souffle gel pen

Here's a close up of the pencil & Souffle pen details:
(click to see it big in Blogger, if you like)


(the Souffle pen is by Sakura. It goes on clear & dries white)


Step 12) Pressure emboss part of the image (I used a homemade grungeboard embossing plate (above). Details on how to make it here. It left a subtle impression since I didn't wet the cardstock...


Step 13) Sketch shapes around the image & the embossed texture and pierce: I sketched a cloud shape & a line for the ground & pierced holes along the sketched lines with a paper piercing tool.


Step 14) Stitch the scene with embroidery thread.


Step 15) Pierce holes along the hem of her dress & add knots.


Step 16) Make the Core-dinations cardstock piece for the back of the shadow box.

Cut some cardboard to fit a shadowbox frame & cut a piece of Core-dinations paper. Glue them to each other.


Step 17) Affix the Core-dinations piece to the shadow box (Beacon's 3 in 1 really holds.) Just be sure to use ventilation (as it says on the bottle.)


Step 18) Adhere the image & add some flowers...


(These were made using an embossing folder in the Cuttlebug, copic markers, punches, white paint, & sandpaper) There's a pictorial here, if you're curious:

Embossed fresco flower tutorial:
(embossing, colouring, painting...)


...and then you have a shadow box collage:


Thank You sooooh much for stopping by!


(Please click if you'd like to visit the blog
from an email or reader)


Read More
Posted in 3D-projects, Faves, My-Favorite-Things | No comments

Tuesday, 27 April 2010

Caardvarks' Coredinations Monochromatic Challenge!

Posted on 13:50 by Unknown
Caardvarks Core-dinations Monochromatic card mel stampz

A little monochromatic Core-dinations fun for the latest Caardvarks challenge...


1...Caardvarks Celebrating Core-dinations Challenge!
2...How to make this monochromatic card (painted Core-dinations etc...)

-1-


This is for the

Core-dinations Monochromatic
Challenge here.

The cards the team has made are a droolfest!
Hope you can play along with us!

And for more inspiration you might wanna
have a visit here:


-2-

...make this monochrom Core-dinations card:


  • Core-dinations Jenni Bowlin Studio Core Impressions Collection (pre embossed yumminess!)
  • White cardstock
  • White acrylic paint, brayer, sanding block
  • Circular stuff to trace (glue bottle, bowl, & cup), pencil, scissors
  • Paper piercer, thread, needle,
  • Nursery Boy RP 78 paper by the Bottled Image Paper Co.
  • Flowers (felt, cardstock, old book pages, Mod Podge, paint, bugle beads)
  • Fred She Said leaves (Dancing Daisies digital set)
  • Putty Copic marker, silver gel pen, silver marker.


Step 1)
Cut Core-dinations cardstock & Brayer a little white acrylic paint onto it
(this is cut to measure 5.5 inches square.)

A little a lot of rambling about Core-dinations cardstock & paint: Granted, sanding this paper is wonderful (especially with its pre-embossed loveliness) but paint! It really knocked my socks off...

...the pure white colour with no dust...not to mention the way that snazzy waffle Core-dinations texture picked up the paint & looked like fabric. It looked even more fabric-like with a little bit of sanding, distressing, & stitching:


Of course, you could use a different colour of paint or a combination of colours for all kinds of crazy looks: faux verdigris copper with turquoise paint & rusty colours or something would be hot, no? :-D


Step 2) Round the corners. To get a large radius rounded corner with no punch, just trace something round in pencil, cut it out with scissors & erase the pencil line.

(This was a Judikin's diamond glaze bottle, but you could use anything, of course. Why even limit it to circles? You could make your own funky shaped corner "jigs" out of cardstock to trace instead.) :o)


Step 3) Pierce, stitch, & distress the Core-dinations cardstock.


Step 4) To make the folded card & round the corners on it:

A) Fold a piece of cardstock (this one is a piece of cardstock cut to measure 11 inches x 5.5 inches & scored in the middle to make a 5.5" square card)
B) Attach the textured piece with the rounded corners
C) Trim with scissors to cut the excess cardstock off
D) Distress with the edge of the scissors, if you like that look


Step 5) Cut a circular ring frame from more painted coredinations pierce & stitch it with black thread (every other stitch.) Fill in between with faux stitches in black multiliner; then, smooge the stitches with white paint to distress them.

Cheap trick: Tracing circle stuff from around the house is great if you have no circle cutter (or no clue which box it's still packed in. hehehe)


Step 6) Make a scallop-type frame for under the stitched ring
--this one was made by:

A) Drawing a circle as a guide to doodle two curvy bracket shapes
B) Cutting the bracket shapes out to make a paper jig (to trace)
C) Tracing another circle on a piece of white cardstock
D) Laying the "jig" over the circle & tracing the bracket shapes all around it
E) Cutting it out with scissors & erasing the pencil line
F) Filling in the brackets with hand printed "Happy" repeated in pencil
G) Edging it in silver marker (from the dollar store)
H) Roughly cutting out the center (so it won't show under the Core-dinations frame)


Step 6) Cut out some images. (These images are from some paper my supah sweet best friend Kimmy gave me so I'm not sure if it's still available, but it's called: Nursery Boy RP 78 paper by the Bottled Image Paper Co.


Step 7) Adhere the 2 frames to the card.


Step 8) Make some flowers.

( If you'd like to see more on how these flowers were made, please see these 2 tutorials: this one for the Mod Podge book page texture & this one for altering the 5-petal EK Success punch.)


Step 9) Add some flower centers.

These ones are wee homemade felt flowers:


To make some easy peasy cheap-o felt flowers:

A) Glue any old felt to cardstock.
B) Draw or stamp a flower on the back of the cardstock (or you could print digital ones before gluing the felt on, instead.)
C) Cut them out.

(I just doodled circles on the back of my white felt cardstock--to make 5 petals around a center--and cut it out. Pierced a hole in the middle & shaped them with my hands.)


Step 10) Make some leaves. These are Fred She Said leaves (from a Dancing Daisies digital set I bought here.) They were made like this...

A) Printed this silk flower vintage text on white 100lb cardstock
B) Printed the FSS leaves right over it
C) Coloured them with a Putty Copic marker
D) Doodled on the leaf vein lines with silver gel pen
E) Smooged over it all with white paint on my finger tip
F) Shaped them a little with my hands


Step 11) Adhere the Mod Podge & the felt flowers & stitch them on with silver bugle beads. Pierce and stitch the inside of the circular frame.


Step 12) Make a 3D sentiment flag shape:

A) Paint a piece of the Core-dinations with white paint

B) Cut into into 3 pieces: Cut one middle rectangular piece & fold it so it sits like a staple &
Cut two flag-type sides (to look like the ends of ribbon with V's cut in them)

C) Adhere the two flag bits to the back of the folded middle piece
Cut a sentiment from patterned paper (or stamp it) & glue it on


Step 13) Embellish an image. I glued the smaller image onto the larger, pierced around the edge & stitched.


Step 14) Adhere the stitched image inside the frame.


Step 15) Adhere the sentiment flag & pierce it along the sides.


Step 16) Finally, stitch the sentiment on.


...and then you have some monochromatic-ness:


Thanks for taking time to visit;
hope your day is filled with happy!


(Please click if you'd like to visit the blog
from an email or reader)

Read More
Posted in Caardvarks, cheap-tricks, Faves, Fred-She-Said, techniques, Tutorials | No comments
Newer Posts Older Posts Home
Subscribe to: Posts (Atom)

Popular Posts

  • free Butterfly Silhouette .studio cut files (in 3 styles)
    Hi, All! Here are those butterfly Silhouette .studio cut files. They are for only for the Silhouette machine... But I do hope to share other...
  • DIY digital paper (some freebies)
    The lull in posts (over the last couple of days) was for me to finish up this looooong post I've been wanting to share with you for eons...
  • New Popcorn Box template set (pretty stamp room storage) :o)
    Are you in the mood for a template or two? I was going to wait until I had really good photos and a full pictorial, but then I would take fo...
  • Missing with a migraine, Craft room BEFORE pics, & LINKs for Organizing the craft room
    Edited to add: Sorry guys. I feel like I was hit by a truck. Migraine's lasted so long... but I will be back with a post by tomorrow eve...
  • Graphics Fairy Inspiration (+vintage printables)
    Thank You all so much for your wonderful comments about the papers I've been obsessed with. Your kind words make me grin so big that I g...
  • "Honey, I shrunk the stationery!" (Hero Arts typewriter notebook)
    Still trying to make more of my cards into little gifts. This Hero Arts typewriter card is another take on the card turned refillable notebo...
  • 3 Clean And Simple cards (with SRM stickers)
    You guys may know that I was tragically born without the gene that let's you achieve a C lean A nd S imple card. ;-) Not sure why I find...
  • Making Your Own Colour Shimmer Sprays--Links & Info
    Info & Links Links for how to Mak e yo ur o w n Sh im mery s prays: (These are for you sweet Beth! oxo) ( more info on these colours in...
  • over 100 free pattern overlays ... at a glance
    Would you believe that the free overlay total is at 139 overlays and counting? (I might have a wee little addiction) ;-) Since overlays can ...
  • Felt-based cards (Rock-a-Bye Baby tutorial)
    New idea, Old projects.... I've been debating whether or not to post some older projects/tutorials since the big bad insecurity beast...

Categories

  • 'Mouse'-the-cat (10)
  • *TEMPLATEs (98)
  • 3D-projects (144)
  • A-Day-For-Daisies (7)
  • Amber Ink (9)
  • Angel's-Landing (2)
  • BASICS (47)
  • Blogging-tips (7)
  • Caardvarks (48)
  • Cat's-Pajamas (2)
  • cheap-tricks (224)
  • Christmas (33)
  • Claire-Keay (2)
  • Cricut (3)
  • cut-file (2)
  • Cuttlebug (45)
  • decor (6)
  • Digital-Images (131)
  • Distress-Inks-etc (14)
  • DIYstamps (1)
  • Eat-Cake-Graphics (11)
  • Faves (207)
  • Fred-She-Said (5)
  • Freebies (77)
  • GESSO (9)
  • Halloween (10)
  • Heather Ellis (3)
  • Hero-Arts (14)
  • ISC (7)
  • Jessica-Sprague (2)
  • Just-Rite (2)
  • LPS (63)
  • Mo's-Digital-Pencil (16)
  • My-Favorite-Things (33)
  • organizing (7)
  • Other-People's-Tutorials (36)
  • Paper-Garden-Projects (54)
  • Paper-Temptress (39)
  • Punches (21)
  • Purple-Onion-Designs (23)
  • S.U. (1)
  • SCOR-PAL (4)
  • silhouette (4)
  • Skipping-Stones-Design (7)
  • Squigglefly (6)
  • SRM-Stickers (8)
  • techniques (191)
  • templates (26)
  • Tiffany-Doodles (4)
  • Tutorials (252)

Blog Archive

  • ►  2013 (16)
    • ►  July (4)
    • ►  June (4)
    • ►  May (3)
    • ►  April (1)
    • ►  March (1)
    • ►  February (3)
  • ►  2012 (53)
    • ►  December (2)
    • ►  November (2)
    • ►  October (1)
    • ►  August (3)
    • ►  July (2)
    • ►  June (5)
    • ►  May (7)
    • ►  April (8)
    • ►  March (9)
    • ►  February (13)
    • ►  January (1)
  • ►  2011 (74)
    • ►  December (1)
    • ►  November (5)
    • ►  October (10)
    • ►  September (9)
    • ►  August (12)
    • ►  July (5)
    • ►  June (9)
    • ►  May (2)
    • ►  April (6)
    • ►  March (7)
    • ►  February (4)
    • ►  January (4)
  • ▼  2010 (84)
    • ►  December (7)
    • ►  October (1)
    • ►  September (6)
    • ►  August (1)
    • ►  June (1)
    • ►  May (7)
    • ▼  April (21)
      • Oh Man oh Man is this BIG fun!
      • 2 Challenges--Pure Innocence Collage Shadow Box
      • Caardvarks' Coredinations Monochromatic Challenge!
      • Thank YOU! (teensy peek at a sneaky playful silly...
      • Blog tales of a toast-eating-zombie-stampire-hermi...
      • New MFT Set & Templates--- Sheltering Tree 4.5" box
      • Thank YOU! many miscellaneous sewing themed freebi...
      • MFT VIP Hop (Winter Sheltering Tree card)
      • How nifty is this Clips n Cuts perpetual blog hop!?!
      • Millie Mouse High-Backed 3x3 Box (pictorial) :o)
      • Link Love: GENIUS or gorgeous...
      • MFT 3x3 box with Gift-Card holder (pictorial)
      • Baby Bump MFT--3x3 Box (pictorial)
      • MFT Hop & Shop (and the secret template) LOL
      • Tonight's the night & Day 5 of the MFTeasers!
      • MFTeasers Day 4-Jolinne! (+Copic scatch on gesso ...
      • MFTeaser--Day 3 Tree Swing!
      • Meet some New Characters! (MFTeasers)
      • a couple of cutting ideas for paper flowers...
      • Embossed Fresco Flowers (with a 5 petal flower pun...
      • Caardvarks Photo Inspiration card (late late late ...
    • ►  March (3)
    • ►  February (17)
    • ►  January (20)
  • ►  2009 (234)
    • ►  December (16)
    • ►  November (21)
    • ►  October (11)
    • ►  September (23)
    • ►  August (29)
    • ►  July (26)
    • ►  June (10)
    • ►  May (16)
    • ►  April (26)
    • ►  March (22)
    • ►  February (27)
    • ►  January (7)
  • ►  2008 (39)
    • ►  December (14)
    • ►  November (25)
Powered by Blogger.

About Me

Unknown
View my complete profile