StampznewBright

  • Subscribe to our RSS feed.
  • Twitter
  • StumbleUpon
  • Reddit
  • Facebook
  • Digg

Tuesday, 20 March 2012

Tea Party Anyone?

Posted on 13:30 by Unknown
And now, for something completely girl-i-fied! :-)

When VerĂ³nica at The Paper Shelter asked me if I would like to
play with some of their digital product I was ultra excited to do a little
something with this scrumptious Tea Party in Wonderland image:

1 The Paper Shelter - tea party card - mel stampz
(Don't those wee treats and that tea set give you the Happies?)

Two special little girls I know adore tea parties,
so I thought I'd make them this card.
(Sending mail is something I really need to do much more of.)

How about you?
Do you love to send cards,

or do you find sometimes that you forget to?


(stuff I did to make this girly card)

I used digital papers & textures to
fill parts of the image to make a scene:

2 TPS_Wonderland_Furniture_table FILLED with Little Sylfie paper copy

The table cloth is filled with the pink paisley paper in the Little Sylfie paper pack. (It made me drool when I first saw it, it's so pretty & looks like fabric.)

Want to know more about creating custom patterns
& using them to fill things?
You can find a detailed tutorial here.


3 TPS_Wonderland_Furniture treats & tea set FILLED with Let's make a picnic paper

Sections of the treats and the tea set are filled with
the rose paper from the Little Sylfie paper pack and the grass
is filled with the green textured paper from that pack too.

The sky is filled with a cloud texture, and the whole image is
filled (on a new layer) with Lewis Carroll's handwriting in light grey.
(The clouds & handwriting are linked below as freebies, if you like them).

I printed the image, then coloured parts of it in
with Copic markers and sanded
some areas of the patterns to distress them:

4 distress image sand digital paper

There are little pink seed beads stitched onto the treats:

5 Colour in with copics and add clear lacquer on the tea set - stitch or glue beads on

(And I added a little clear lacquer to the dishes for shine).

--------

And the table cloth has a little
quick hand stitching:

stitched table cloth

(It's easy to add some stitch detail: just pierce some holes;
sew every other stitch with needle & thread & a needle; then fill in the skipped
stitches with a marker in the same colour).

--------

I added a little triangular pennant to a beaded pin to
make a flag for the cake:

6 Add a flag to the cake - cut a little slit with an exacto knife and slip it the pin into it affix on the back of the image & adhere it to the card

To add the flag to the image, I just:

a) Cut a slit in the paper above the cake (using a hobby knife).
b) Slid the pin into the slit.
c) Affixed the bottom of the pin on the back of the image.
d) Glued the flag onto the card to secure it.

--------

The "Tea Party" sticker...

7 Finish with a sentiment -  SRM sticker on book paper with white paint - letters coloured in with pink copic - stitched

...is from an SRM sticker set: Everyday Girl. I put a little white paint on a page from a book
and stuck the sticker over top. Then glued it to some cardstock, cut it into a flag shape, coloured in the outline letters with pink Copic marker and added some random stitches.

.

Finally... I did this stuff:

a) Adhered a cut lattice (using this Geometric Background cut file from Silhouette) in white to the bottom of a 5.5" panel of white cardstock (stitched the edge).

b) Added some tracing paper up top that I stamped with Tim Holtz's reflections stamp in white
and glued on stamped side down so the lettering was readable.

c) Adhered some pieces of patterned paper (from Crate Paper's Paper Heart 6x6 pack). I painted the paper with white acrylic paint to make it match.

d) Stuck it all on a 5.5" square white card... the image, the sentiment,

...and some Do It Your flowers:

book page flowers

The template and tutorial for the DIY flowers are linked here:

mod podge book page flower with acrylic paint wash & stamping


Here's The Paper Shelter
image I used, Tea Party in Wonderland:

&

And here's the The Paper Shelter
paper packs I used:

Let's Make a Picnic paper pack
(the green paper to fill the grass and the pretty
little rose paper to fill the treats & tea set):


(click the image, to go see this set)

and the table cloth was filled with that gorgeous
pink paisley from the Little Sylfie paper pack:


(click the image, to go see this set)


To save these files, click the following:
1) the image 2) File 3) Save Page As 4) Save


This cloud snippet is from a castle landscape image that was shared here by
Karen, The Graphics Fairy. Please link her up if you use it:

Cloud snippet from The Graphics Fairy img just over 9x 4 inch 300dpi
It is 300dpi & measures 9.5 x 4.3 inches

Alice in wonderland - Lewis Carroll's handwriting here:

Lewis Carroll handwriting aprx 2 x 5 inches 300dpi
It's 300dpi & measures 2 x 5.3 inches


Thank You so much for checking this out.
Hope you are having a lovely week!


P.S. Full disclosure: I was lucky enough to receive my choice of image &
the papers for free from The Paper Shelter. Thank You, VerĂ³nica! :-)
Read More
Posted in Digital-Images, techniques, Tutorials | No comments

Thursday, 15 March 2012

Nesting card (and free Bird on a branch digi images)

Posted on 14:35 by Unknown
It still feels like this needs a sentiment or bow or something,
but I just couldn't seem to add anything more...

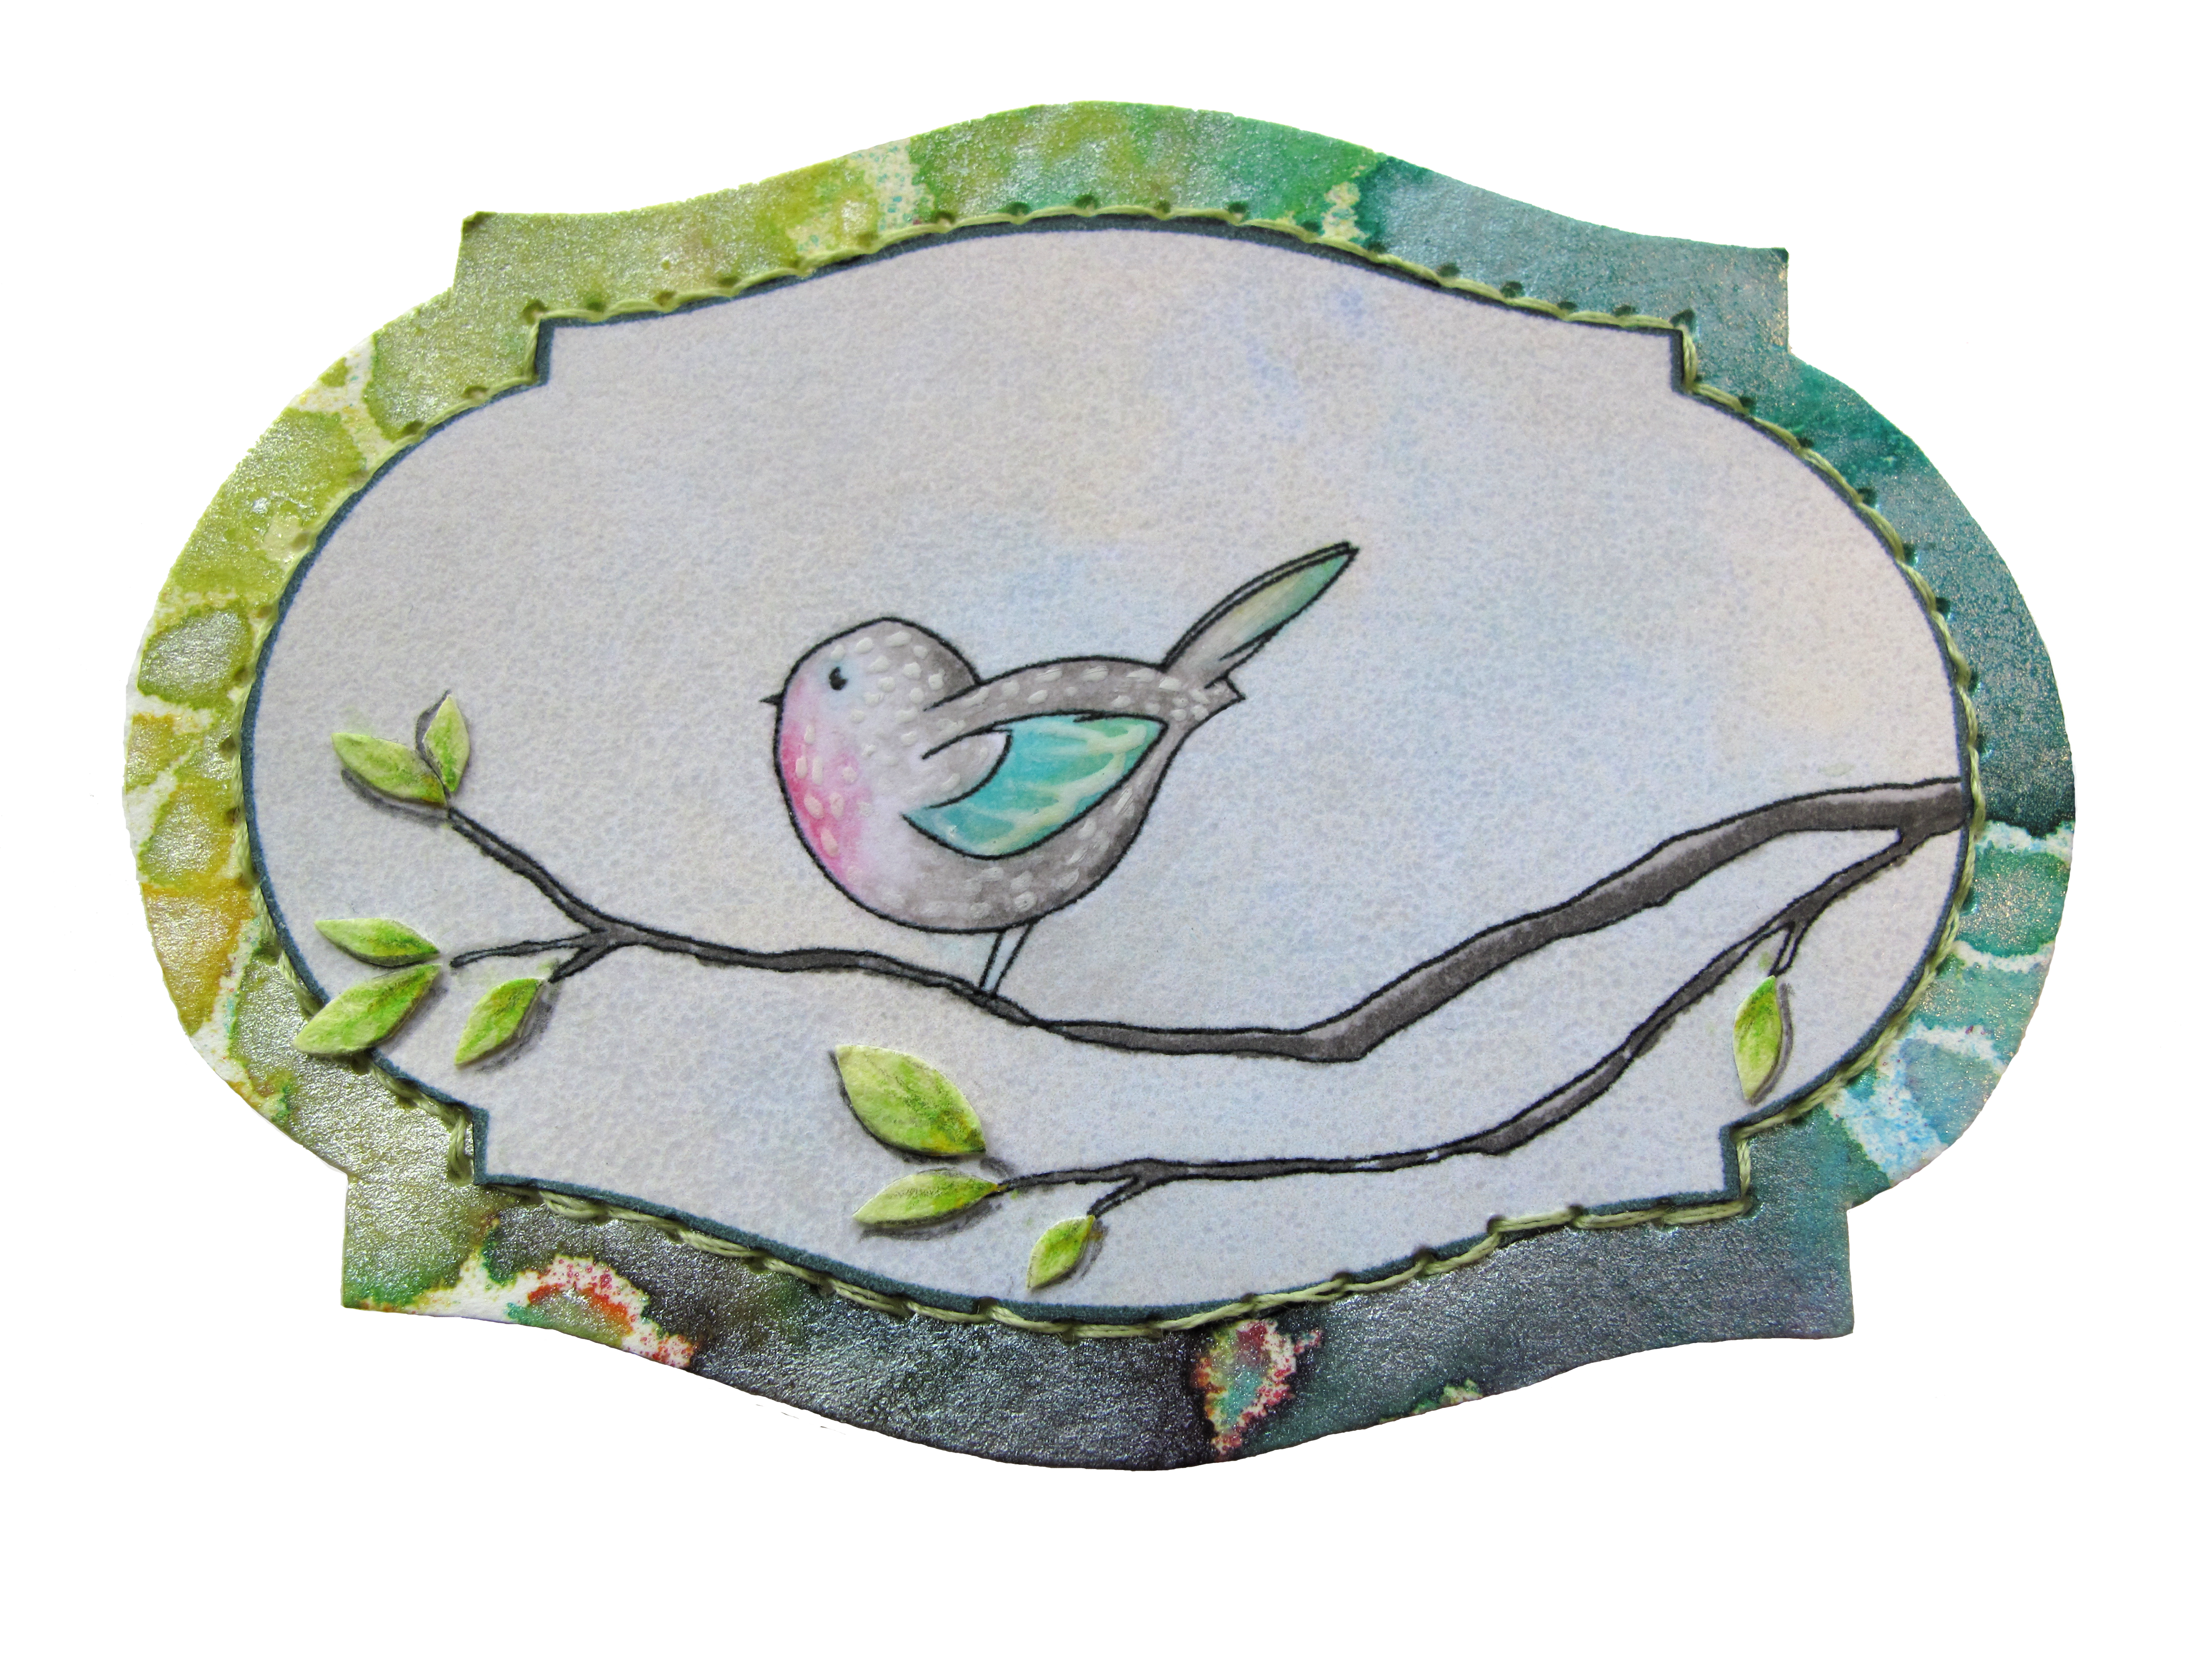
bird in a nest (free digi img) mel stampz

It's another card made using one of the
papers from those Ephemera freebies
and
a free bird on a branch digi that I doodled.

(A couple of you said you would
like to use it, back when it was on this card)...

vintage vine & chubby bird card mel stampz

So I thought I'd share the little chubby fellow.
Hope you like it!


(ephemera paper patterns)

There was a very weird process I used to make this
pattern that I thought might give you a chuckle

ledger pomegranate
& flower paper
(is available here, if you like it)


8_SAMPLE_JPEG_ledger_pomegranate_and_flower_light_EPHEMERA_12_and_half_inch_SQ_350dpi_melstampz

Patterns in Photoshop are so fun to play with.
You can make one element like this one & then
use it as a pattern to fill a whole sheet:


There are much smarter ways to make this kind of shape.
That's-a-for-sure! But I don't know them. :-)

All the same, I had me some fun making this element out of the curves of fonts (letters like Bb Dd and Oo -- Using the find edges filter and erasing parts of the resulting outline. If you can believe it, I find that easier than drawing curves. Do I need a Photoshop class or what?)

Then, I just kept tweaking the shape and testing it until it made a tile pattern that looked okay... It ended up looking kind of like pomegranates and flowers, and I filled that with ledger patterns (The ledgers I used are available in this post, if you'd like to use them).


(Things I did to make this bird card)

1 print & emboss bird digi - paris bleedproof paper ink jet printer clear embossing powder

Step 1) Print & emboss the free bird digi (You can download it below, if you like it).

To heat-emboss digital images:

(I love to use a paper that I discovered has magical embossing properties:
Borden & Riley Paris Bleedproof paper for Pens). :-D

a) Cut the paper to fit your printer & get embossing powder ready.
b) Print your image using in an ink jet printer
c) Pull the paper out of the printer as soon as it finishes
d) Quickly hit the wet printer ink with detail or ultra fine clear embossing powder
e) Melt the powder with a heat gun

More details about this paper & digi heat-embossing technique here.


2 colour & cut out bird - colouring inspired by geninne's art

Step 2) Colour & cut the bird out, so she can sit in her nest.

The colouring is inspired by Geninne's Art blog. (I'm in awe of her technique). I added the white lines on the bird's wings & dots on the bird's body with a Sakura souffle white gel pen...

2b Added the white lines on the bird's wings & dots on the bird's body with a Sakura souffle white gel pen

but I have to try white artist's ink on a paint brush one of these days.

3 colour cut out the branch from the digi image & texturize it (I cut off some of it)

Step 3) Colour and cut out the branch from the digi image & texturize it (I cut off some of the branch to make it simpler).

Just "drawing" with a paper piercer on an angle can give you some
lovely bark-like texture lines:

3 b close up branch texture made with paper piercer mel stampz

(If the cardstock is slightly damp from markers it takes the texture even more readily).

4 cut a nest shape colour with markers

Step 4) Make a bird's nest from cardstock: Cut a nest shape from white cardstock. Shade it with markers. (I used Copic markers: W-7, E44 and W-3).

And add some nest-y texture:

4 nest distressing close up

If you really go crazy scratching up the paper with a paper piercer or a needle tip, you can get some nice fuzzy texture just from regular cardstock.

5 Make some leaves colour cardstock with markers and doodle on white gel pen-Then cut them out

Step 5) Make some leaves: Colour cardstock with markers, doodle leaf shapes with veins in white gel pen. Then cut them out.

7 die cut dictionary page with a nestabilities label 5 shape to make a mat

Step 6) Die cut a dictionary page with a Spellbinders Nestabilities Label 5 shape.

8 cut another nesties label 5 (black cardstock for the mat) trim sides off to create a whole new shape

Step 7) Cut another nesties Label 5 shape (out of black cardstock for the mat). Trim the sides off of the label to create a whole new shape.

9 Pressure emboss the black cardstock (paisley folder) and squish the embossing to make it more flat - tutorial here

Step 8) Pressure emboss the black cardstock & add details.

This embossing is done with a Provocraft Paisley folder. To make a thin handcut frame adhere the black embossed label shape to a piece of turquoise cardstock & cut it out (I added little scissor snips to make it fringed). Then stitched black thread on the black label shape.

Ever tried Squished embossing? I like to squish the embossing to make it more less pronounced. There's a "squished embossing" tutorial here (it's just something strange I made up, but I like being able to get a variety of embossed textures not just the deep embossing you get with a Cuttlebug folder or other folders).

6 Add mini leaves and flowers - the flowers are so easy - left overs from edge punch

Step 9) Assemble everything and add some leaves and mini flowers. (The flowers are left overs from an edge punch).

10 Put it all together on a card

Step 10) Finally, put it all together on a card (this card is 5 and a half inch square)


(free doodled bird image)

These are PNG files.
If you need JPEGs or other file formats,
please just let me know.


You can see the entire set of
bird digi images on flickr here


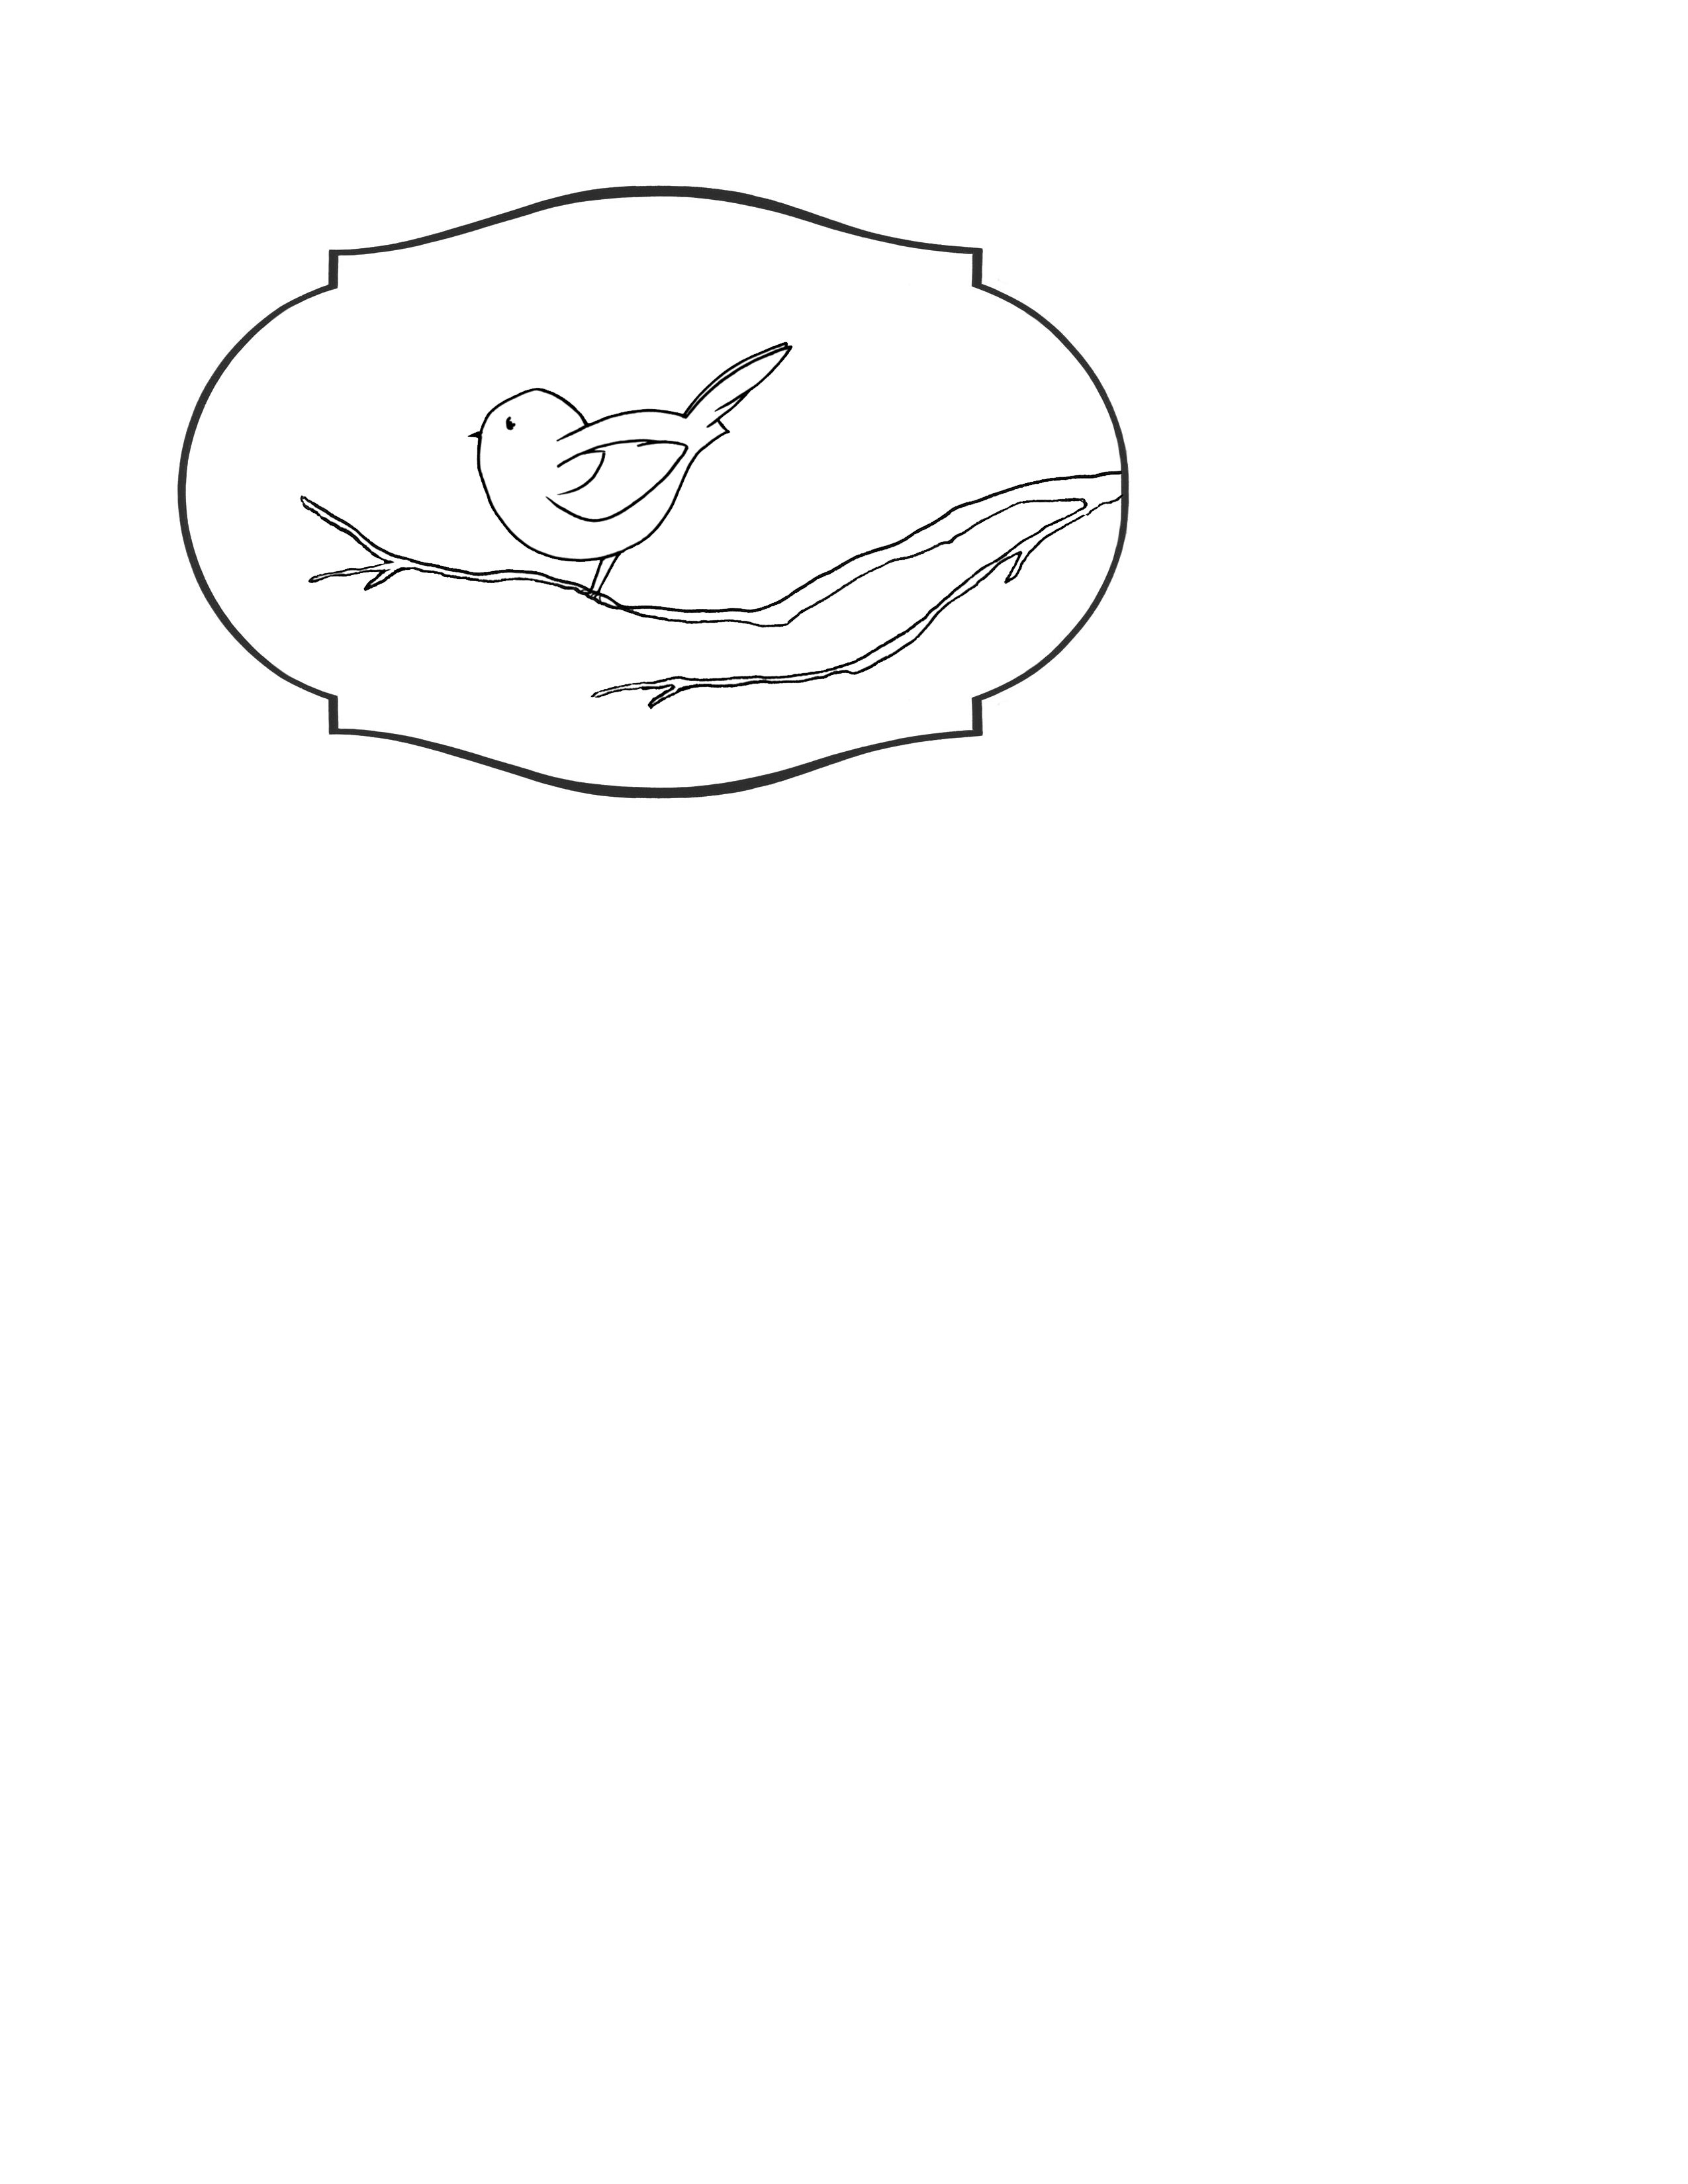
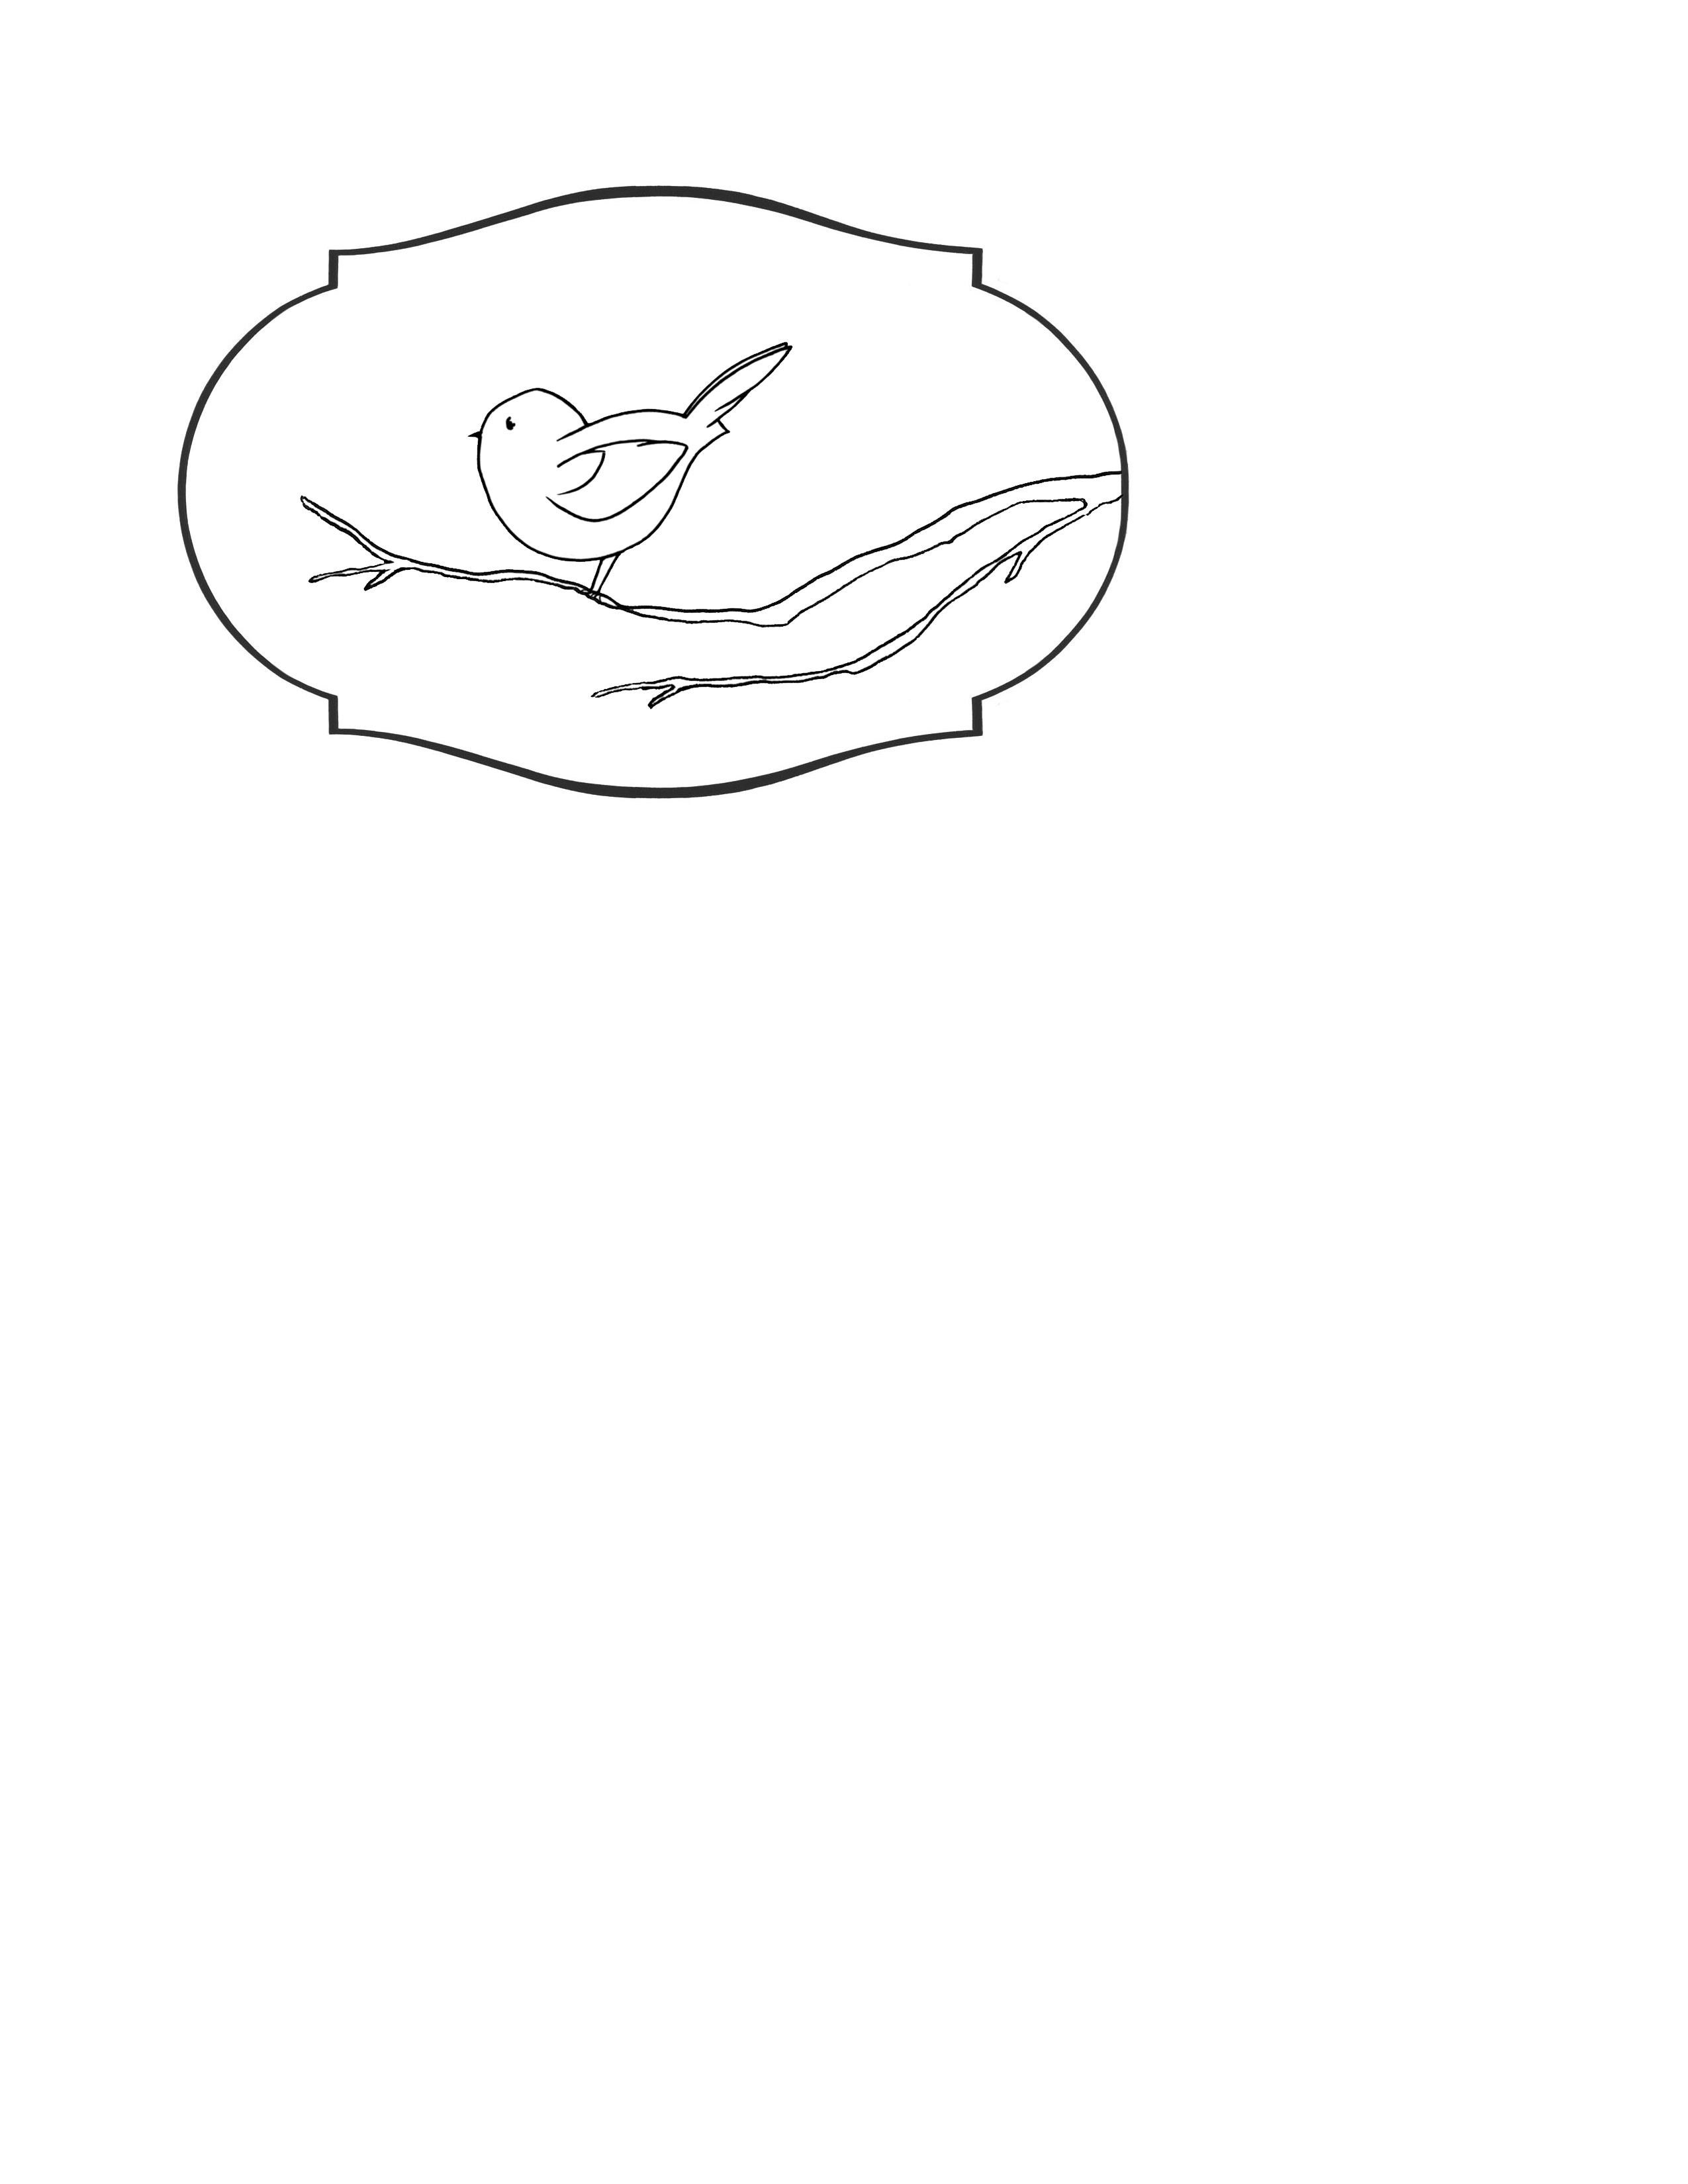
Bird digi (in a label):

To save these files:
Firefox/Chrome: right click on the image & choose "save link as"
Explorer: right click on the image & choose "save target as"
black & white bird on branch label melstampz - Copy


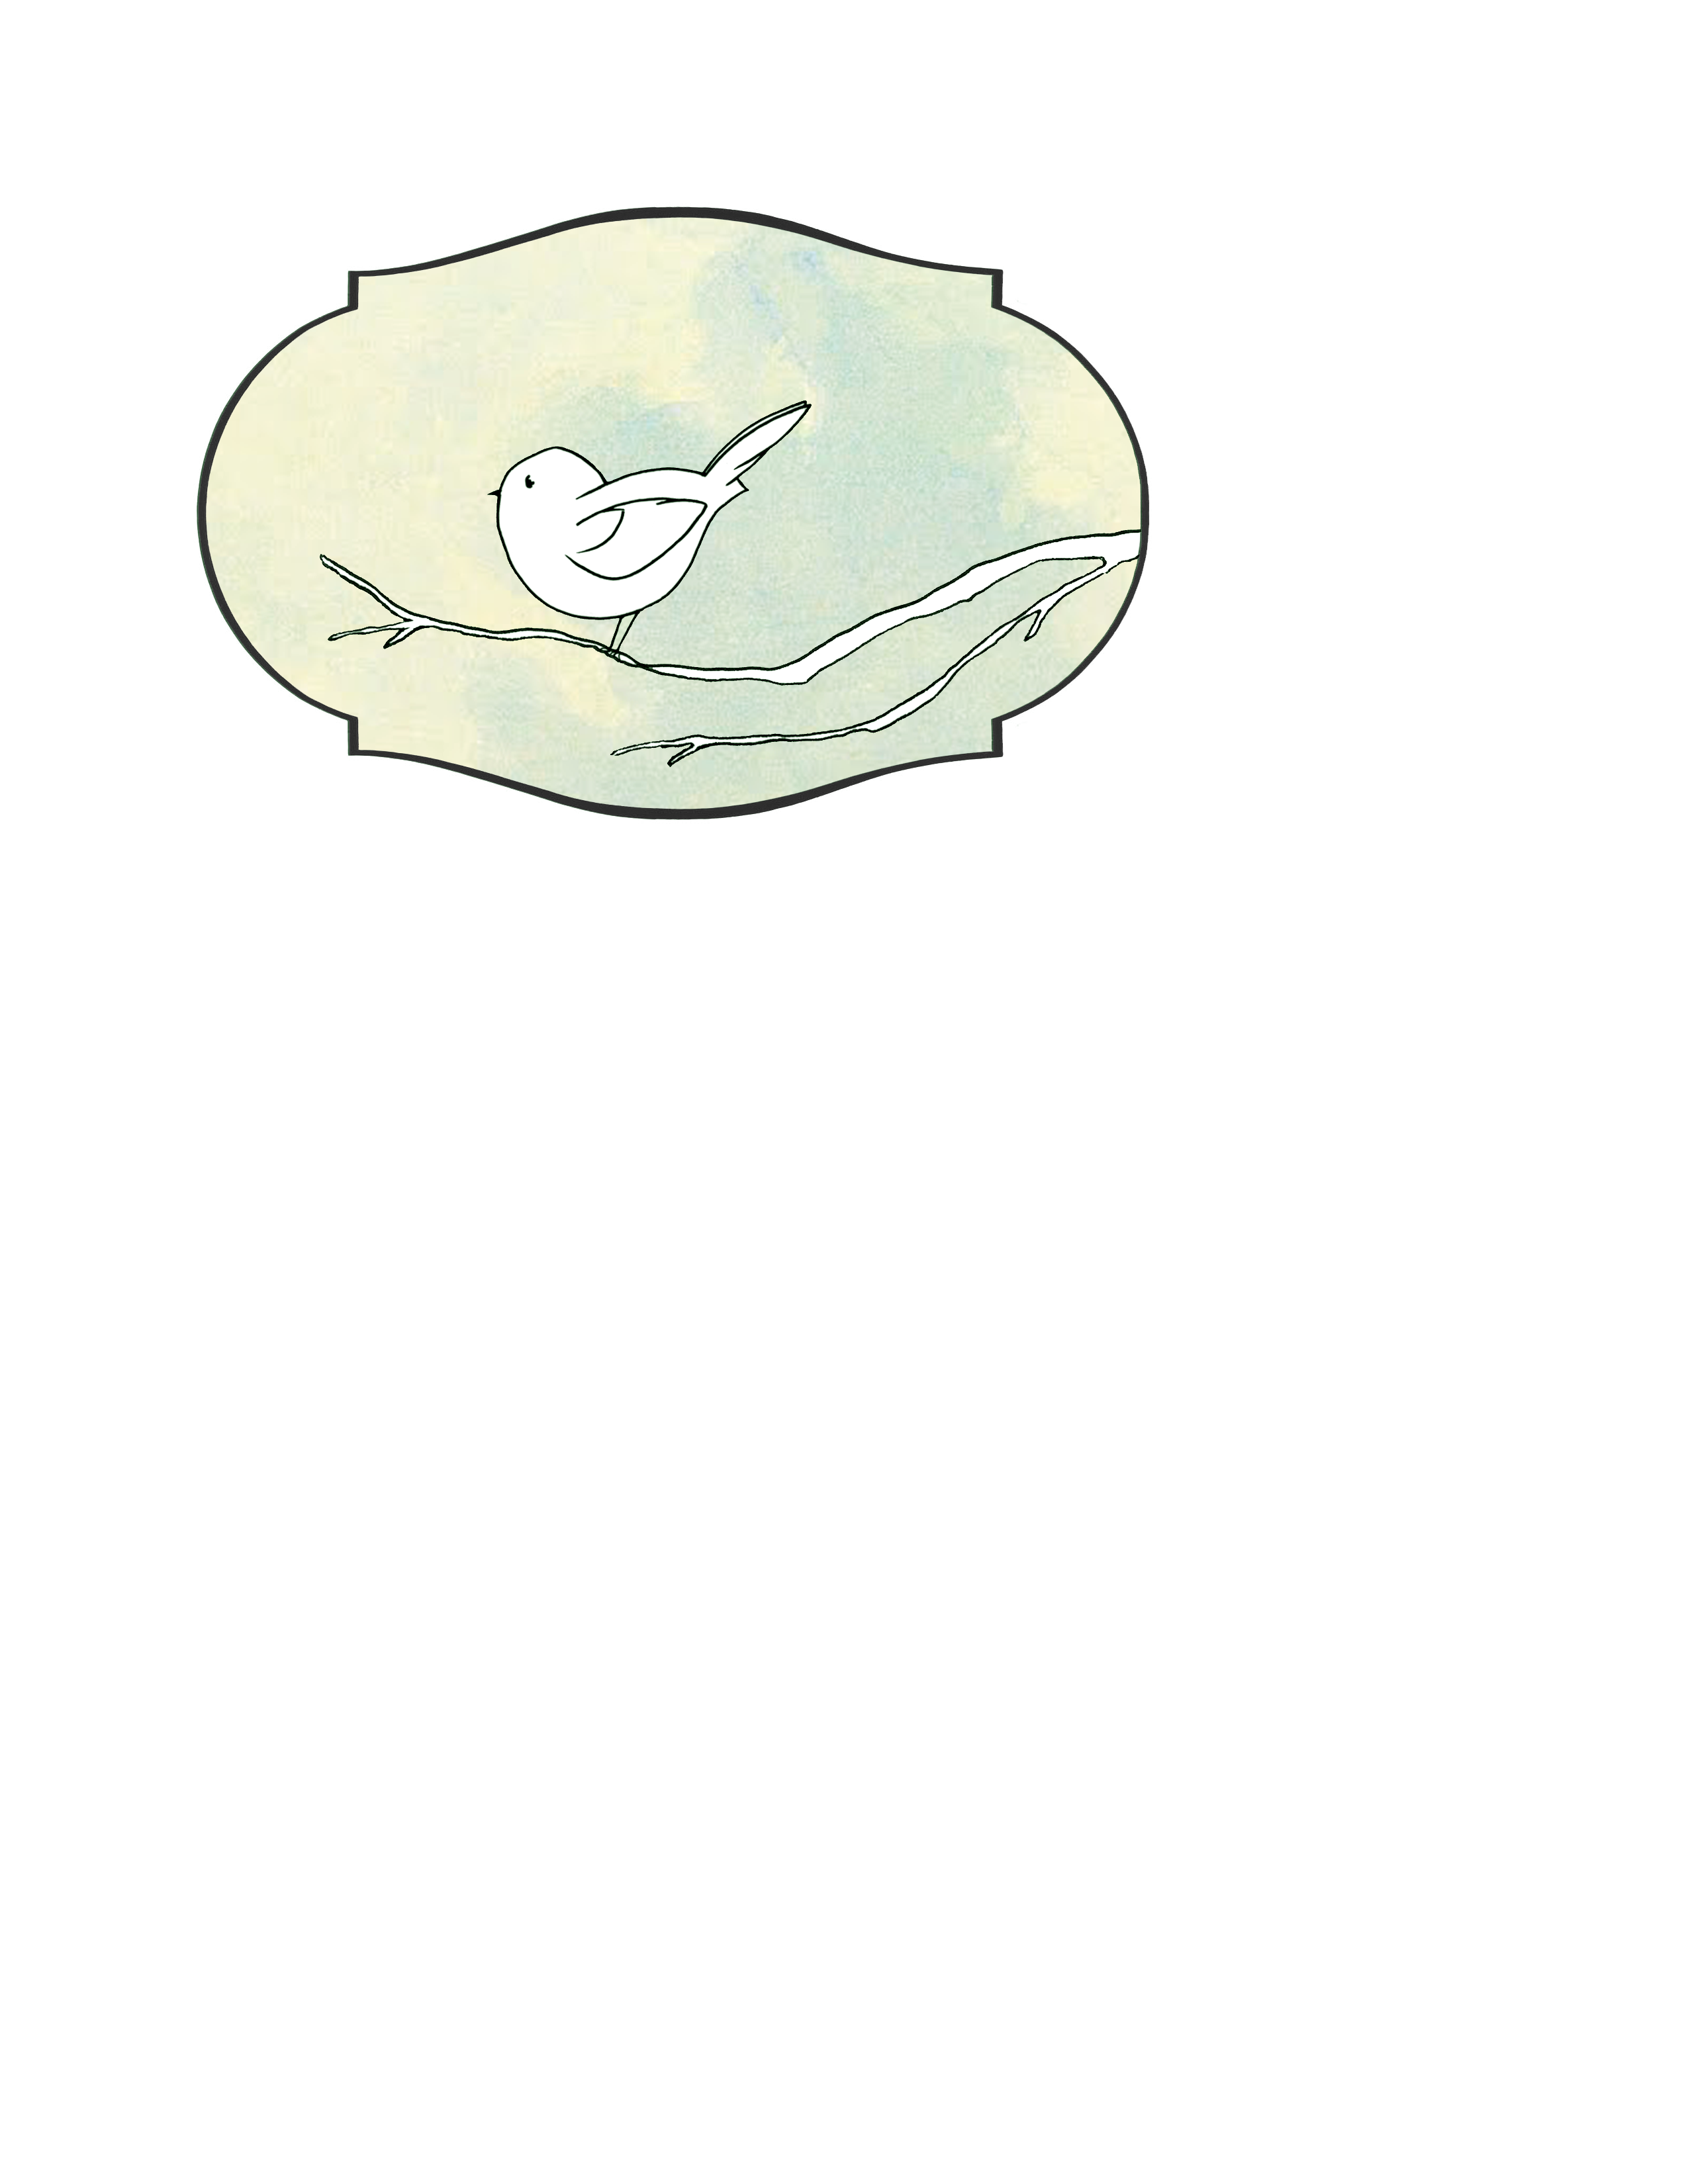
Bird with a baby blue sky (in a label):

To save these files:
Firefox/Chrome: right click on the image & choose "save link as"
Explorer: right click on the image & choose "save target as"
bird on a branch label baby blue sky CROP mel stampz


Bird with vintage coloured sky (in a label):

To save these files:
Firefox/Chrome: right click on the image & choose "save link as"
Explorer: right click on the image & choose "save target as"
bird on a branch label with sky VINTAGE colouring CROP mel stampz


Bird on a branch (with no label):

To save these files:
Firefox/Chrome: right click on the image & choose "save link as"
Explorer: right click on the image & choose "save target as"

bird on a branch free digi image by mel stampz


And as a digital scrapbooking element:
(with a transparent background)

14 inch melstampz digital element bird on a branch copy
(I have no idea if this will work adequately for digi scrapbooking or even
been something you might use, but I thought I'd share it for fun. It's 350dpi 14")


The label shape is tweaked from this image
shared by Karen, The Graphics Fairy
.

Original size of the empty label here on Flickr,
in case you'd like to use it. (Please link Karen's post, if you do).
:o)


Hope you are feeling simply wonderful today,

Read More
Posted in Digital-Images, Freebies, Tutorials | No comments
Newer Posts Older Posts Home
Subscribe to: Posts (Atom)

Popular Posts

  • a Silhouette Challenge project
    This might look like a card in the photo, but...   ... it's actually a collage on a wooden canvas  to hang on the wall (or give as a gif...
  • Silhouette Cameo - Sketch pen Camera card
    Happy Happy Independence Day, to my American Friends! (and happy belated Canada Day to my fellow Canadians!) So, have those of you with Silh...
  • Flying by to say ... 'hello'
    Do you shop for stamps often? I don't have a huge crafting budget, but every once in a while I find some images that call out "you ...
  • free Butterfly Silhouette .studio cut files (in 3 styles)
    Hi, All! Here are those butterfly Silhouette .studio cut files. They are for only for the Silhouette machine... But I do hope to share other...
  • over 100 free pattern overlays ... at a glance
    Would you believe that the free overlay total is at 139 overlays and counting? (I might have a wee little addiction) ;-) Since overlays can ...
  • Graphics Fairy Inspiration (+vintage printables)
    Thank You all so much for your wonderful comments about the papers I've been obsessed with. Your kind words make me grin so big that I g...
  • Everything I've Ever Made (at a glance)
    This post is a visual overview of my blog history-- with thumbnails that are linked to tutorials & templates for pretty much everything ...
  • New Popcorn Box template set (pretty stamp room storage) :o)
    Are you in the mood for a template or two? I was going to wait until I had really good photos and a full pictorial, but then I would take fo...
  • Circle Overlays (to revamp your papers!)
    Can you ever have too many ways to use your stash? No card today, just popping in with a cheap trick for revamping your "old" pat...
  • "Honey, I shrunk the stationery!" (Hero Arts typewriter notebook)
    Still trying to make more of my cards into little gifts. This Hero Arts typewriter card is another take on the card turned refillable notebo...

Categories

  • 'Mouse'-the-cat (10)
  • *TEMPLATEs (98)
  • 3D-projects (144)
  • A-Day-For-Daisies (7)
  • Amber Ink (9)
  • Angel's-Landing (2)
  • BASICS (47)
  • Blogging-tips (7)
  • Caardvarks (48)
  • Cat's-Pajamas (2)
  • cheap-tricks (224)
  • Christmas (33)
  • Claire-Keay (2)
  • Cricut (3)
  • cut-file (2)
  • Cuttlebug (45)
  • decor (6)
  • Digital-Images (131)
  • Distress-Inks-etc (14)
  • DIYstamps (1)
  • Eat-Cake-Graphics (11)
  • Faves (207)
  • Fred-She-Said (5)
  • Freebies (77)
  • GESSO (9)
  • Halloween (10)
  • Heather Ellis (3)
  • Hero-Arts (14)
  • ISC (7)
  • Jessica-Sprague (2)
  • Just-Rite (2)
  • LPS (63)
  • Mo's-Digital-Pencil (16)
  • My-Favorite-Things (33)
  • organizing (7)
  • Other-People's-Tutorials (36)
  • Paper-Garden-Projects (54)
  • Paper-Temptress (39)
  • Punches (21)
  • Purple-Onion-Designs (23)
  • S.U. (1)
  • SCOR-PAL (4)
  • silhouette (4)
  • Skipping-Stones-Design (7)
  • Squigglefly (6)
  • SRM-Stickers (8)
  • techniques (191)
  • templates (26)
  • Tiffany-Doodles (4)
  • Tutorials (252)

Blog Archive

  • ▼  2013 (16)
    • ▼  July (4)
      • A Triple-stamped Fancy-cut Flower card
      • Flying by to say ... 'hello'
      • a Silhouette Challenge project
      • Silhouette Cameo - Sketch pen Camera card
    • ►  June (4)
    • ►  May (3)
    • ►  April (1)
    • ►  March (1)
    • ►  February (3)
  • ►  2012 (53)
    • ►  December (2)
    • ►  November (2)
    • ►  October (1)
    • ►  August (3)
    • ►  July (2)
    • ►  June (5)
    • ►  May (7)
    • ►  April (8)
    • ►  March (9)
    • ►  February (13)
    • ►  January (1)
  • ►  2011 (74)
    • ►  December (1)
    • ►  November (5)
    • ►  October (10)
    • ►  September (9)
    • ►  August (12)
    • ►  July (5)
    • ►  June (9)
    • ►  May (2)
    • ►  April (6)
    • ►  March (7)
    • ►  February (4)
    • ►  January (4)
  • ►  2010 (84)
    • ►  December (7)
    • ►  October (1)
    • ►  September (6)
    • ►  August (1)
    • ►  June (1)
    • ►  May (7)
    • ►  April (21)
    • ►  March (3)
    • ►  February (17)
    • ►  January (20)
  • ►  2009 (234)
    • ►  December (16)
    • ►  November (21)
    • ►  October (11)
    • ►  September (23)
    • ►  August (29)
    • ►  July (26)
    • ►  June (10)
    • ►  May (16)
    • ►  April (26)
    • ►  March (22)
    • ►  February (27)
    • ►  January (7)
  • ►  2008 (39)
    • ►  December (14)
    • ►  November (25)
Powered by Blogger.

About Me

Unknown
View my complete profile