StampznewBright

  • Subscribe to our RSS feed.
  • Twitter
  • StumbleUpon
  • Reddit
  • Facebook
  • Digg
Showing posts with label Purple-Onion-Designs. Show all posts

Saturday, 11 August 2012

Flower Shop cards & Batik Flower paper printables

Posted on 10:30 by Unknown
black POD hometown card & envelope mel stampz

So I'm addicted to colouring these little Hometown buildings from Purple Onion Designs. The flower shop is my fave, because it's so easy to add dimension by stamping an cutting a second little awning (and popping it up on a bit of foam tape).  

Ever try paint over colouring? I added some white acrylic paint to the flower shop above (with a little paint brush over the black heat-embossed image) to tone down the bricks. Something methinks I shall try again sometime.

It was also fun to colour bricks in with little dabs of grey Copic markers:

POD white hometown card & envelope mel stampz

I shaded the silver buildings with a bit of light grey Copic marker to tie them in.

Do you decorate the insides of your cards?

.

I never used to decorate inside, but then people would open them with an expectant look on their faces and you could see a little "oh it's empty, huh..." look in their eyes. I wanted to give them something that wasn't anticlimactic, so these flowershop cards have bright flowery paper inside. (It feels especially fun inside the black card since it's a surprising pop of unexpected lightness.)

-1-
 
make these cards:
Step 1) Heat emboss 2 images of the flower shop using black Archival ink & clear embossing powder. Stamp 2 extra awnings & cut them out.  

Step 2) Colour the images. I used Copic markers for both (and added white paint to parts of the the white flower shop building).

Step 3)
Cut some cards A2-size. One black & one speckled/Natural cardstock.

Step 4) Stamp & heat emboss other Purple Onion Design buildings on the card-fronts. White colorbox ink on the black card with clear embossing powder & silver pigment ink with silver e.p. on the speckled card.

Step 5) Colour these surrounding buildings with a little white pencil crayon for the black card & grey Copics for the white card.

Step 6) Add sidewalks & ribbon: Cut 2 strips of cardstock to make the side walks. (I used two shades of grey & added rough lines with white Prismacolour pencil. Add white & grey ribbon with bows. Adhere the strips to the cards.

Step 7)
Adhere the Flower shops to the cards. Decorate the insides with paper & add the sentiment, heat embossed on grey paper to the inside of the cards.

The sentiment above "Have a Blooming good day!" is one
that comes with the rubber stamp set:

-2-


The stamps used here are several from The Hometown Collection drawn by
Stepanie Ackerman for Purple Onion Designs

For the main image,
Flower Shop...

...and I also used the Bakery, Ice Cream Parlor, Post Office & Doctor's Office:
Hometown rubber stamp collection by Stephanie Ackerman for Purple Onion Designs


-3-

free printable Batik flower paper

To save these files:
In Firefox/Chrome: right click on the image & choose "save link as"
In Explorer: right click on the image & choose "save target as"


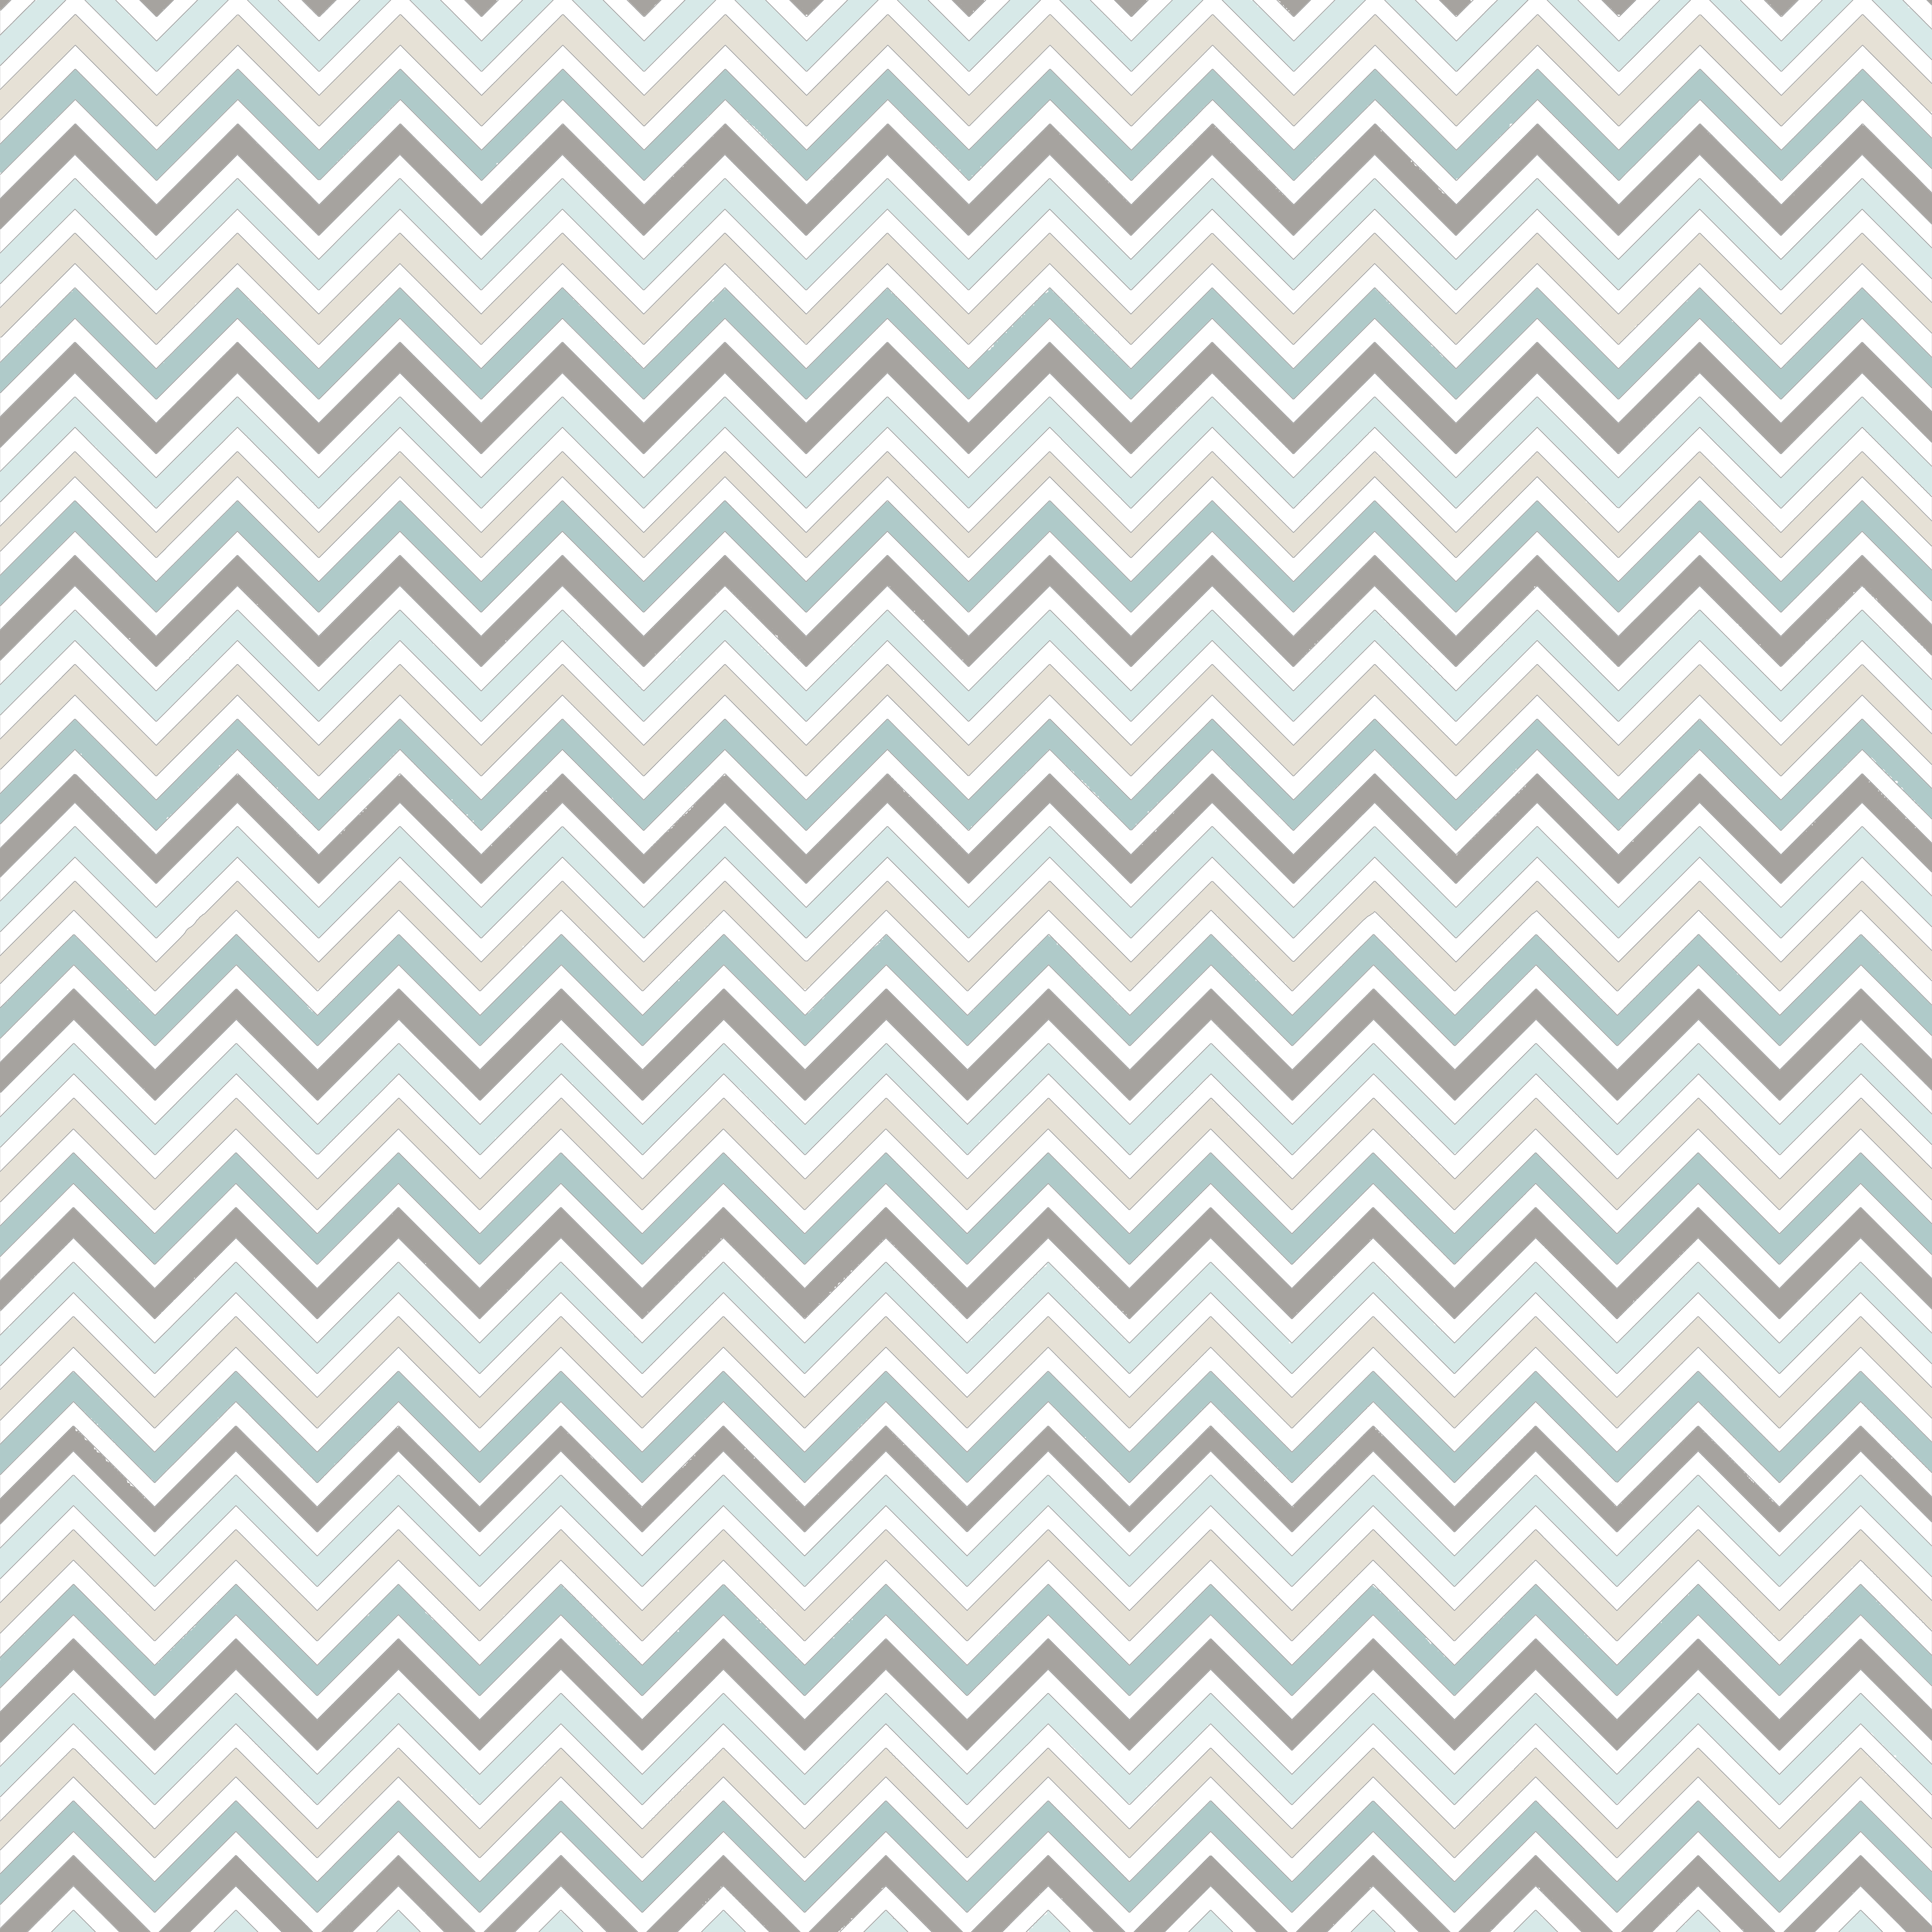
Light Batik flower paper sized to line the
inside of an A2 card (5-1/2" x 4-1/4") PNG:
batik flower paper for A2 cards - mel stampz
(or you can add it to your faves here on flickr)

Light Batik flower paper to fit an A2 envelope
(for lining it) PNG:

batik flower paper LIGHT to fit an A2 envelope for lining
(or you can add it to your faves here on flickr)

There's a tutorial for lining
envelopes in a hurry here:
PDF TUT lining an envelope_mel stampz
Light Batik Flower paper - standard size
8.5" x 11" 350dpi JPG:
JPG batik flower paper LIGHT STANDARD SIZE - 12 and a half inch SQ 350dpi mel stampz

(or you can add it to your faves here on flickr)


Light Batik Flower paper - 12.5" square 350dpi PNG:
batik flower paper LIGHT - 12 and a half inch SQ 350dpi mel stampz
(or you can add it to your faves here on flickr)


If you'd like the paper brighter,
here's a vivid 12.5" square version PNG:
batik flower paper BRIGHT - 12 and a half inch SQ 350dpi mel stampz
(or you can add it to your faves here on flickr)


-4-
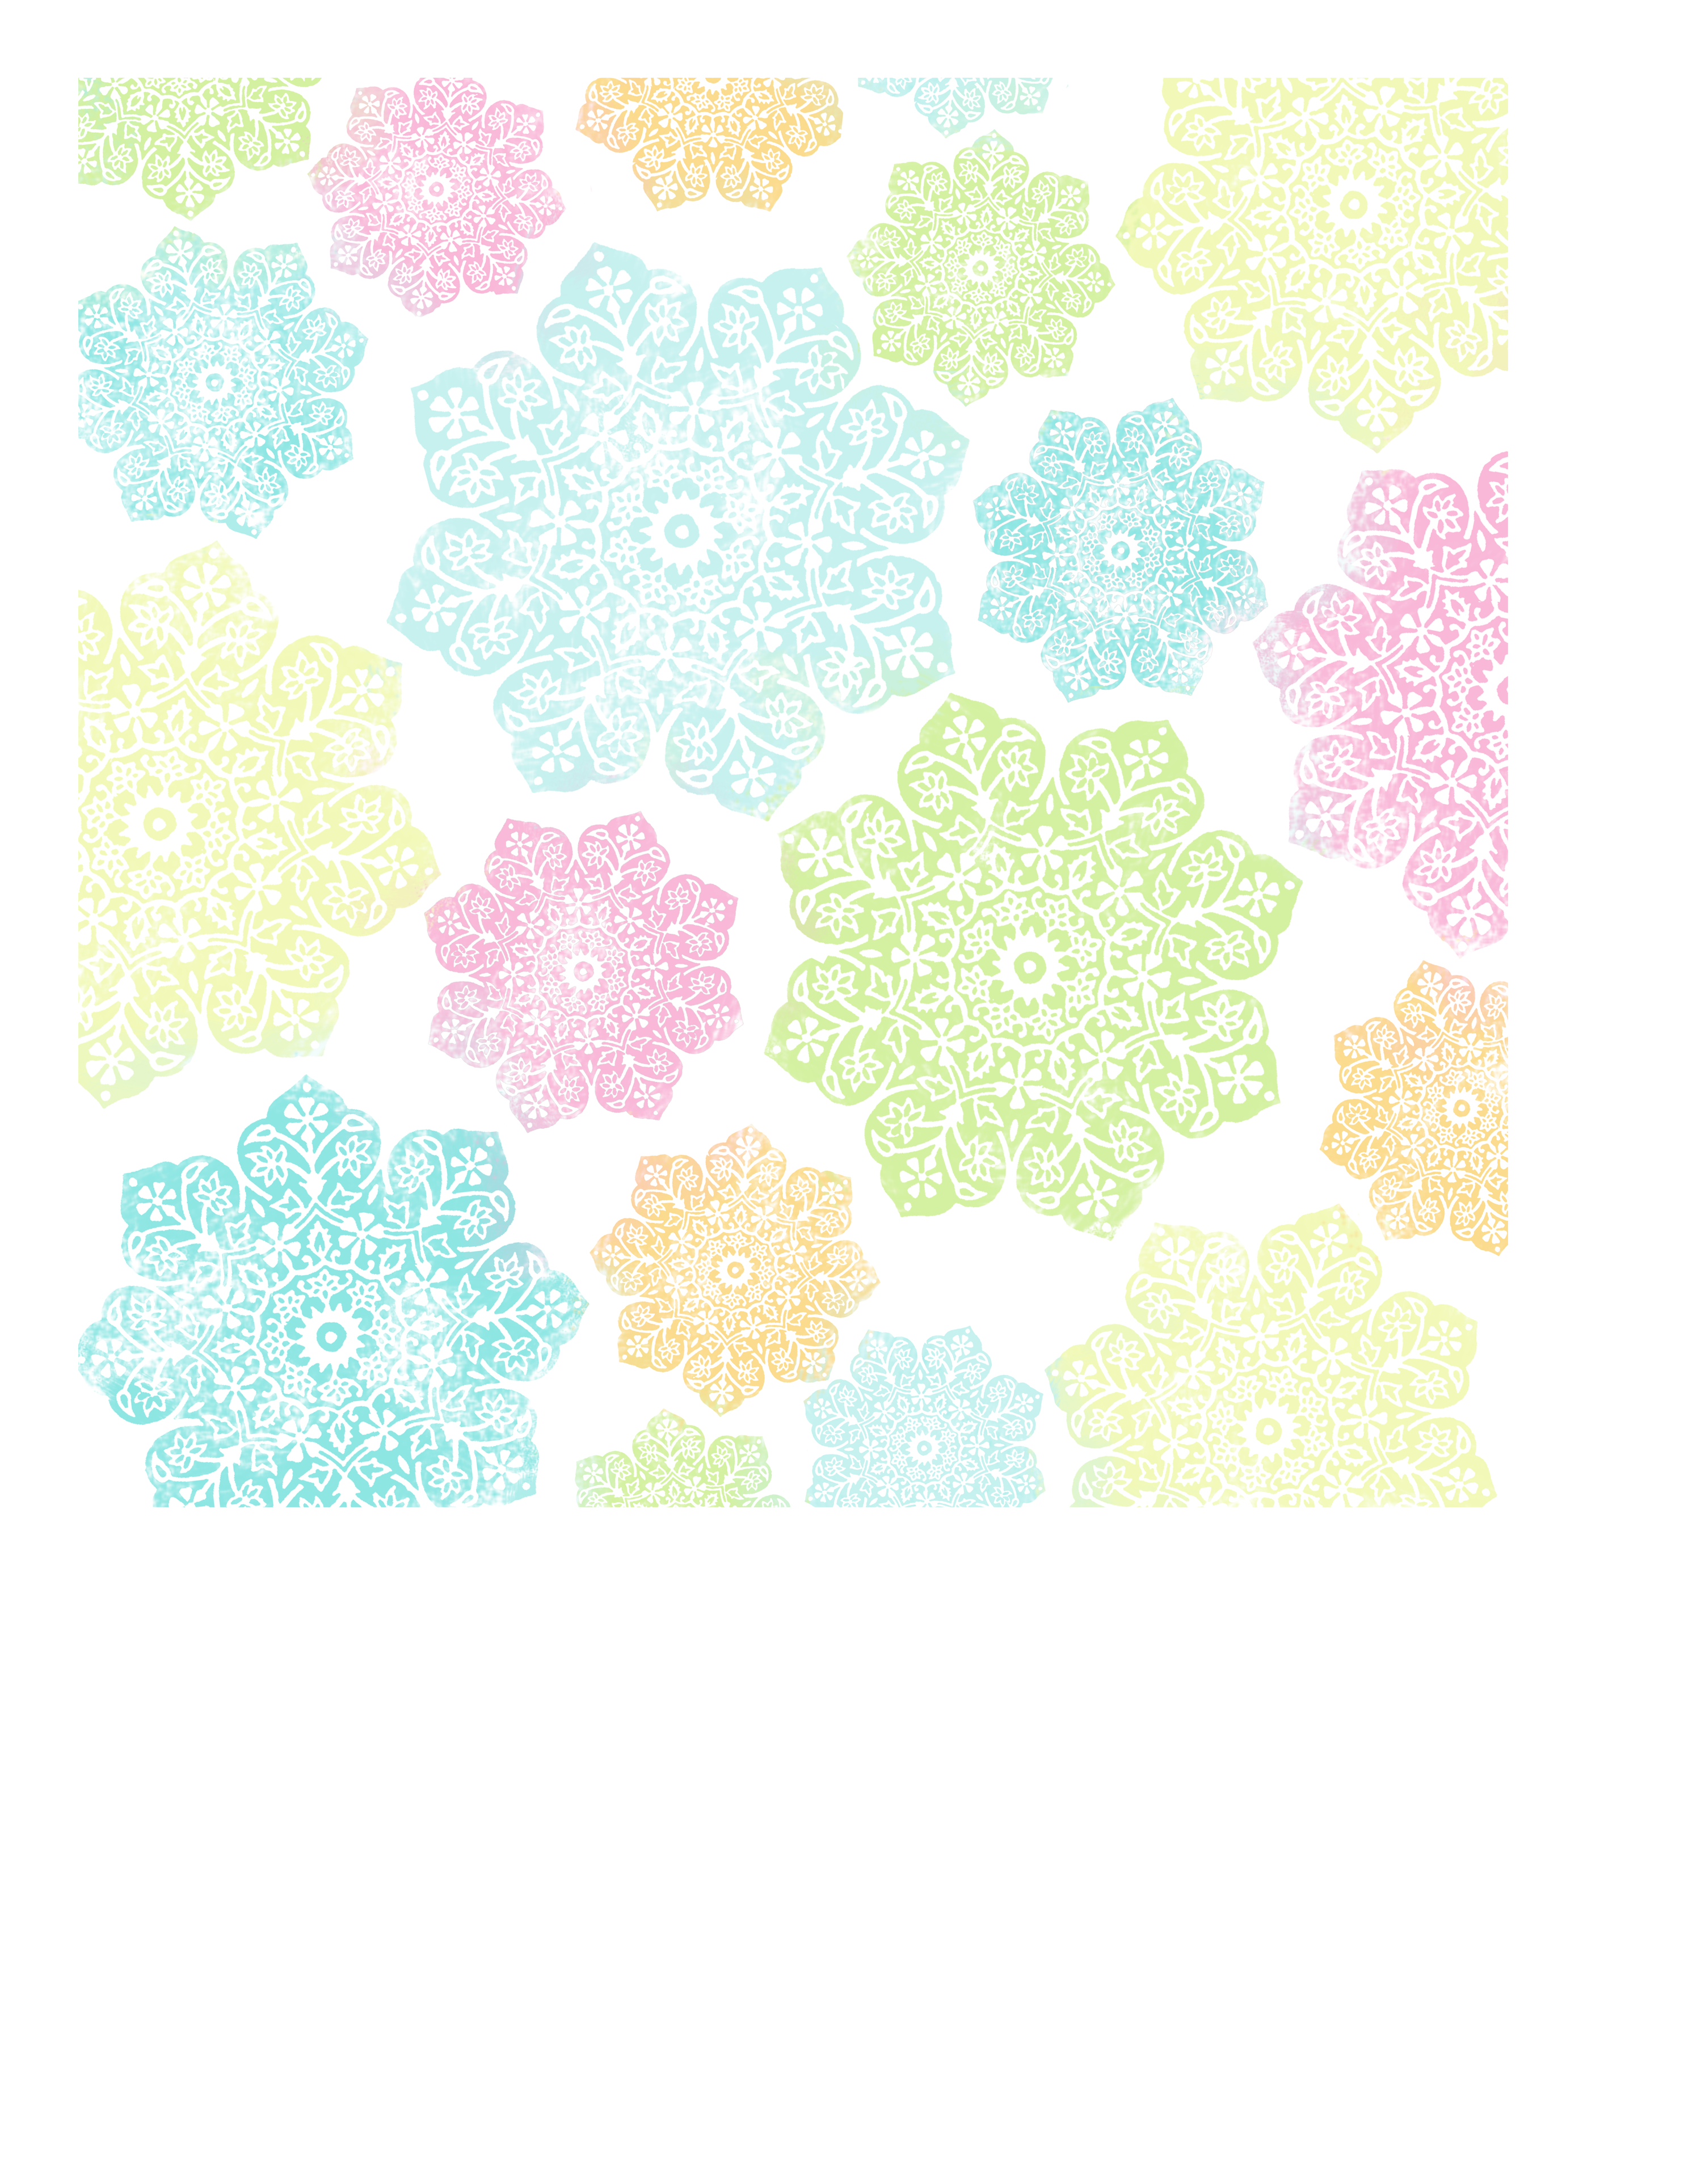
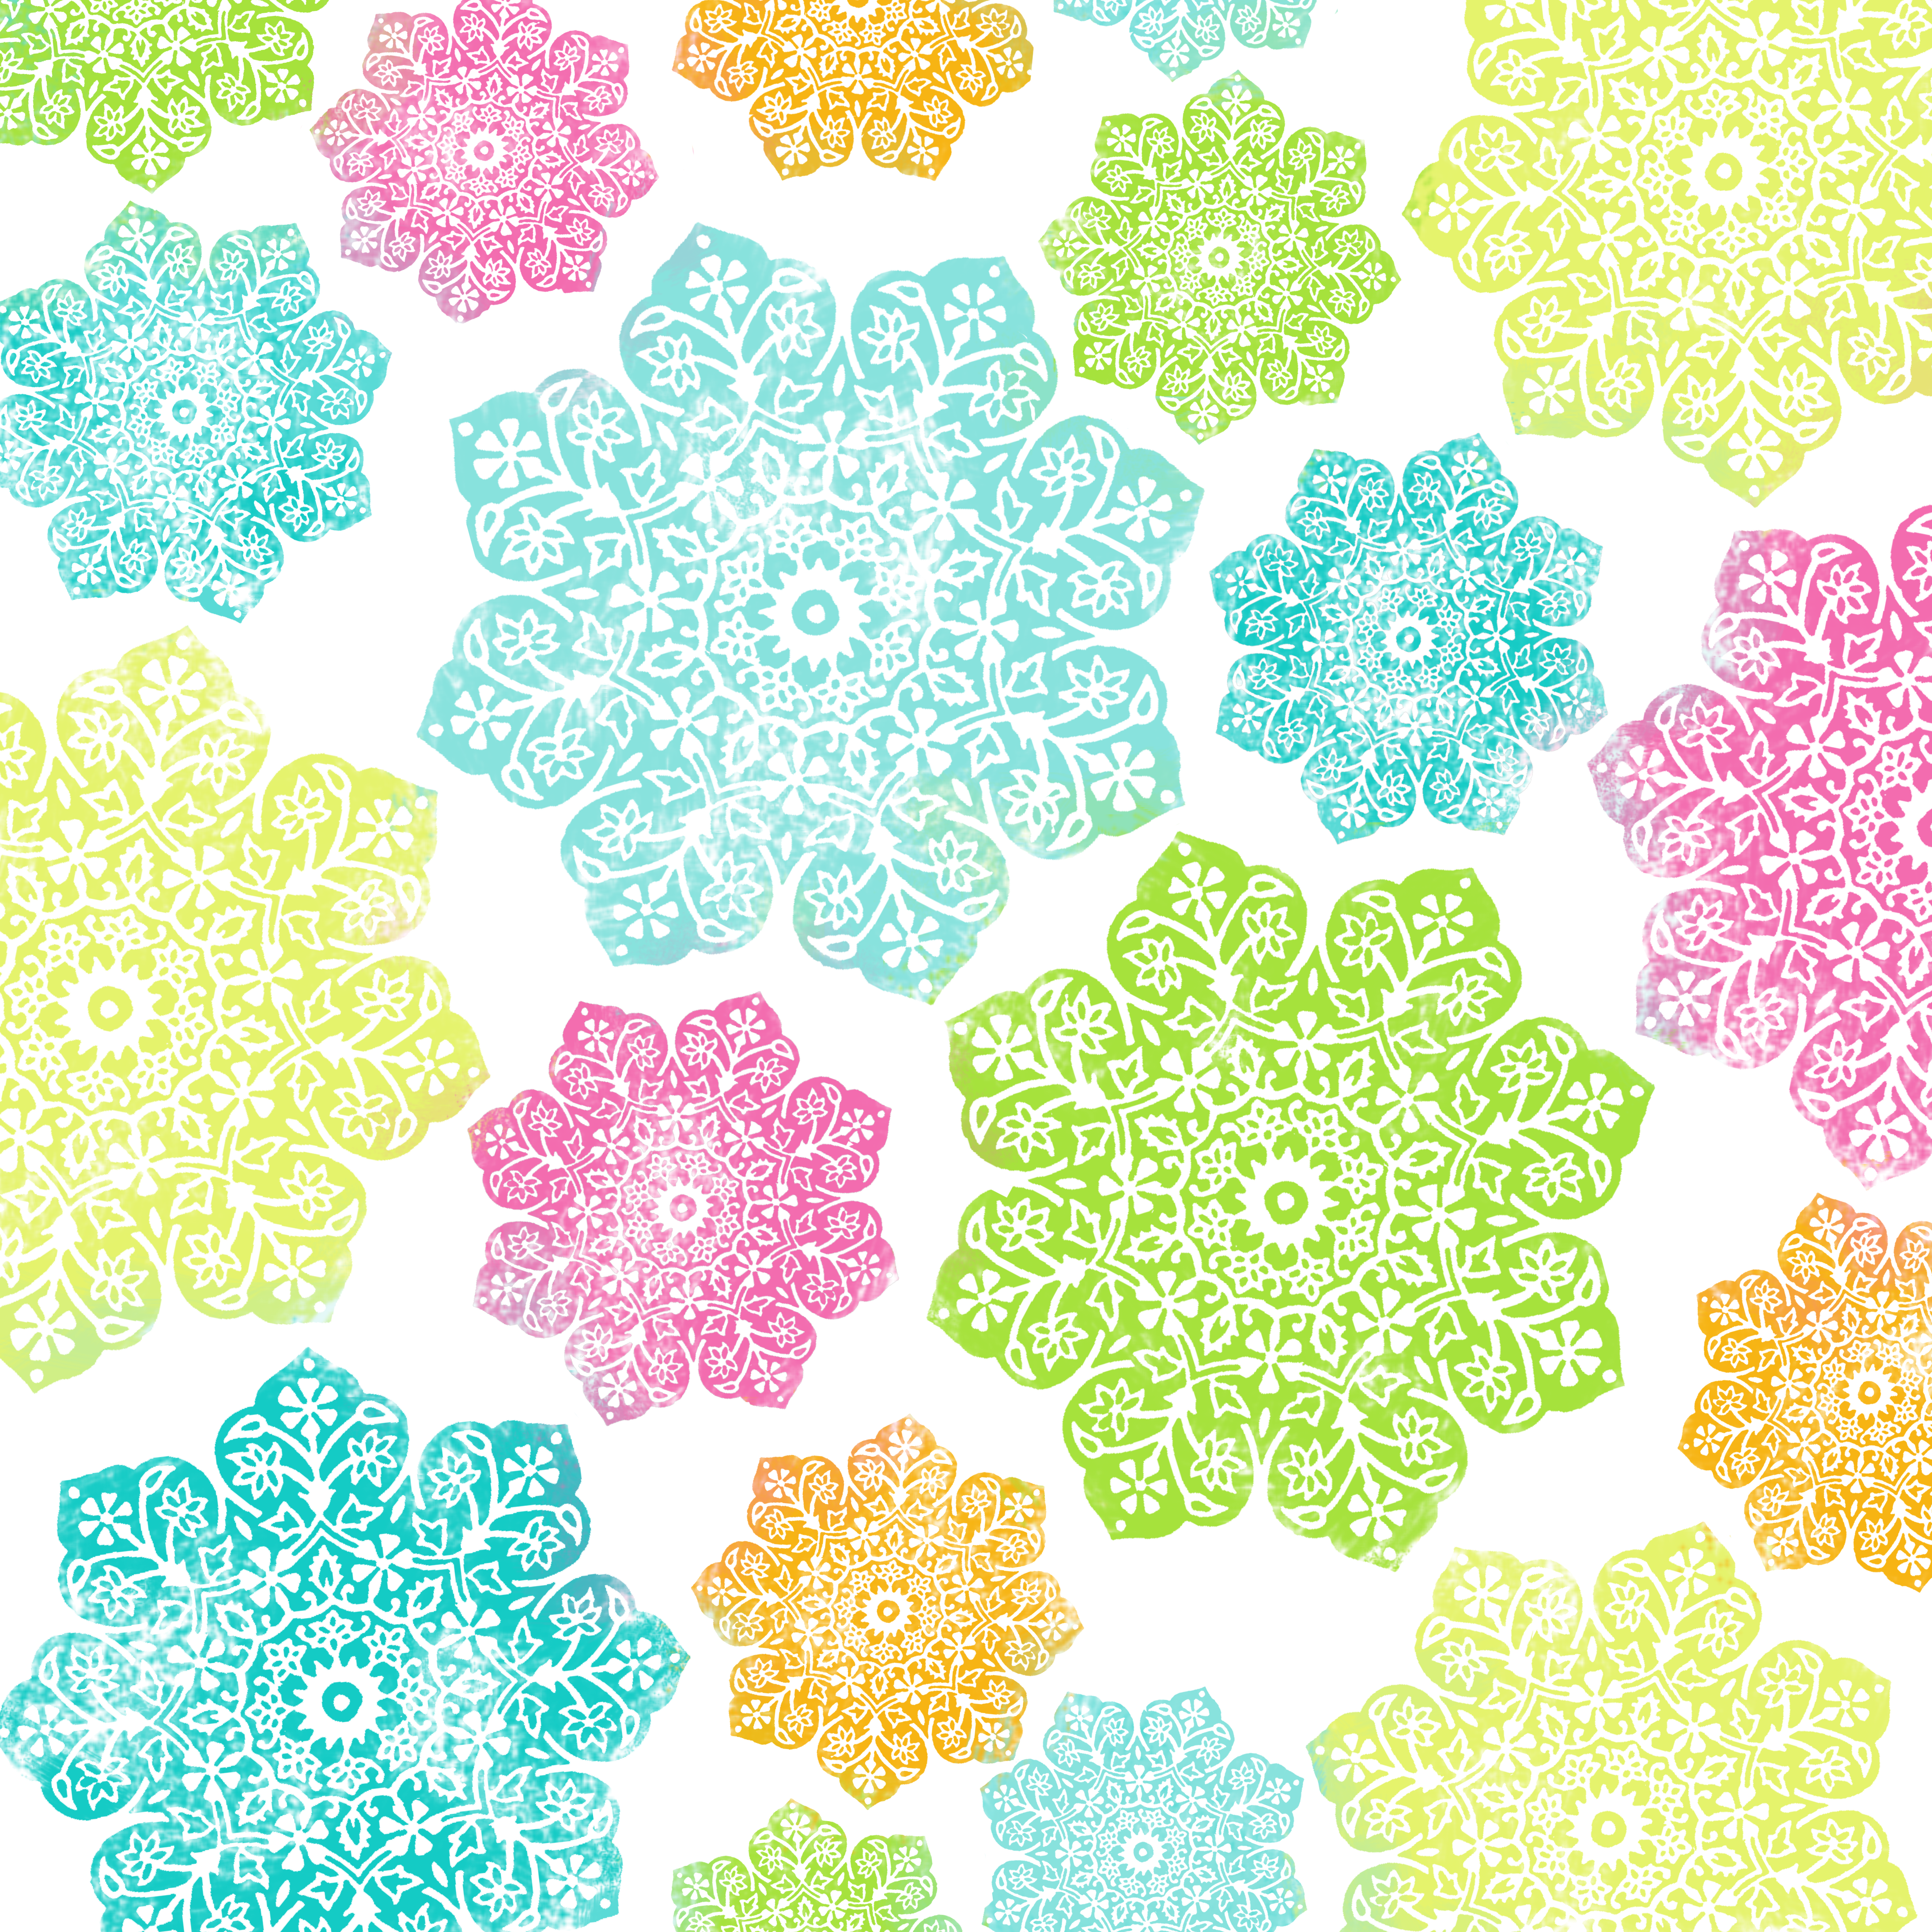
Using overlays to make faux misted papers:

You might recognize this Batik flower pattern from the 100+ overlay post.


I coloured it in Photoshop using spray paint style brushes
(and overlapped the hues here & there) to get a misted look.

Want to try this effect yourself? Here's a
video tutorial for how to use overlays as mist masks
by Jessica Sprague:


Thanks for stopping in. Hope your day
is bright and beautiful!

Read More
Posted in cheap-tricks, Digital-Images, Freebies, Purple-Onion-Designs | No comments

Thursday, 2 August 2012

Masculine "get well" card

Posted on 12:30 by Unknown
It's the dreaded fellow card (well it's a card genre that's a little dread-filled
for me, at least). But I thought this Doctor's Office stamp from Purple Onion
Designs
hit the right note between masculine and cute:

Purple Onion Designs get well card

The building stamp has a bit of architecture, but it also has that happy doodle style. I built a frame up around it (popped up on foam tape). But then the chevron paper was so intense it was actually making Charles dizzy when I asked for a man's opinion. And who needs a get well card that makes a fella feel ill, right? So... I added white acrylic paint to tame those zig zags.


-1-


The Doctor's Office stamp is an image drawn by
Stephanie Ackerman for Purple Onion Designs.

It's in the Hometown stamp Collection here.
And it comes with some ultra cute sentiments:


-2-


You might remember my gimp tutorial on how to make
your own custom coloured papers with overlays?

9 select the colour picker tool to use it - click on the icon that looks like an eye dropper

Well, this chevron paper is a freebie from that blog post...

multicolour_Chevron_tight_zigzag_12_and_a_half_inch_SQ_350dpi_melstampz

To save this file:

In Firefox/Chrome: right click on the image & choose "save link as"
In Explorer: right click on the image & choose "save target as"

colour sampler papers
(or you can see the whole Soft Paper set here on Flickr)


Thanks for popping by; hope
you're feeling wonderful!


P.S. On a personal note, again... ;-) I'm really focusing on eating healthy, getting out more, and taking care of my emotional health (as per your lovely lovely words of wisdom!) Thanks again for taking the time to share your thoughts & feelings with me. It means the world. OX

P.P.S. Here's another card with a stamp
from the Hometown collection:
purple onion designs hometown Bakery card
Read More
Posted in Freebies, Purple-Onion-Designs | No comments

Monday, 11 June 2012

"One, Two, Three... Get Loose, Now!"

Posted on 14:00 by Unknown
Do you like that loose relaxed style that seems to be all the rage, now?

I love it! But I find it totally im-possum-ible, so I'm trying
to get a little more chilled out in my card layouts...

purple onion designs hometown Bakery card

Not sure if this little card qualifies as relaxed, but it felt that way
when I was making it. ;-) (It's a 4-1/4 inch square card).


- a splatter using the inner mechanism of a spray bottle

Step 1) Print subtle graph paper & add some splatters. This is some Distress Ink spray that I made: tumbled glass & distilled water, but instead of spraying, I flicked the inky water on using the mechanism-thingy from the inside of the spray bottle.

1 Put the SRM sticker on your project and sand off some of the text

Step 2) Stick an SRM sticker on the paper and sand off some of the black ink.

It will take away some of the sticker ink leaving a funky distressed texture and softer look:

2 It will take away some of the sticker ink leaving a funky distressed texture and softer look

You could sand the sticker before you add it to your project to reduce the chance of smudges but I just stuck a piece of low tack painters tape on...

3 You could sand the sticker before you add it to your project to reduce the chance of smudges but I just stuck a piece of low tack painters tape on and

... and when you lift the tape, the black dust from sanding lifts right off:

4 when you lift the tape the black dust from sanding lifts right off and doesn't smudge onto your paper

It gives you a nice clean look and the black dust won't smudge onto your paper.

Another trick with tape that surprised me:

Distress Stain on washi tape

If you put picket fence Distress Stain on washi tape it will stay put
and it gives you a lovely texture:

washi tape painted with Picket Fence Distress Stain

Step 3) Stick the tape onto cardstock & make a little tag shape.

a purple onion designs hometown bakery  stamped and layered with acetate window

Step 4) Stamp the Bakery hometown stamp. (I heat embossed it with black pigment ink & clear embossing powder. One of the nicest things about the hometown building stamps is that they are not too small. (This little Bakery is just under 2.5" tall.) Makes it easy to colour!

I stamped it 2 times.

Once to cut the window out of to add a bit of acetate & layer it up:

c acetate window purple onion designs hometown Bakery

I also stamped the Bakery image a second time to cut the awning out:

b purple onion designs hometown Bakery awning dimension built up out of grey cardstock layers

(The handy thing is that I could use the same image I cut the awning from to also cut out the yummy contents of the window to pop in behind). The layers in behind the whole thing are all grey cardstock. I like that better than foam dots since it's sturdier and looks like a shadow.

To layer it, I did this schtuff:

A) Stamped the image & cut the window out with a hobby blade.
B) Glued 3 pieces of white cardstock together (a bit smaller than the size as the image to fit in behind it).
C) Temporarily adhered the 3 layers of cardstock in behind the stamped image with the window cut out of it.
D) Cut the window out of the layers that are in behind -- using the first window cutting as a guide.
E) Cut a little piece of acetate & glue it in behind the stamped image. Permanently adhere the layers for dimension.
F) Add the awning (coloured & cut) with layers of grey cardstock in behind.
G) Add the bakery window contents in behind the little acetate window.

Step 5) Stick it all together:

purple onion designs hometown Bakery card

Step 6) Add a little paper to the inside of the card
and line an envelope to match:

inside card and lined envelope

It's just simple printed digi paper, with faux stitches drawn in pen.
(I'll add the three digi papers I used for this card in the next day or two).

The tutorial for lining an envelope in a big old hurry, is here.


a purple onion designs hometown bakery  stamped and layered with acetate window

As soon as I saw this hometown collection,
I knew I just had to have it:

Purple Onion Designs stamps - hometown collection by Stephanie Ackerman

It's from Purple Onion Designs,
and it's drawn by Stephanie Ackerman.


  • Bakery stamp from Purple Onion Designs hometown collection.
  • White cardstock (80lb) white copy paper (thin to line envelope).
  • Ranger Archival jet black ink, clear embossing powder, heat gun
  • Dark grey cardstock, A2 sized white envelope, double-sided tape.
  • Piano monochrome Sweet Bella tape & picket fence Distress Stain.
  • SRM Sticker set: "SWEET" We've Got Your Sticker.
  • Copic markers: RV-02, V000, c-7,c-3, c-1, BG-10, B-00, YG-00.

Hope your day is a sweet one!


P.S. On an extra personal note: Sorry the posts around here continue to be random. I've been working on managing my energy levels and diet (anemia and the no gluten or dairy or egg etc...) It's has been a bit of a struggle. I'm a regular zombie, I tell ya (and oh man my house is a big old MESS!) :-) But Charles is more patient than a saint, and we've been enjoying days here and there spent in the community garden and spent with our amazing family. I am starting to have some non-zombie days and my migraines are fewer! Yay!!! I hope you and yours are feeling oh so well, and are as lucky as we are.

P.P.S. "One, Two, Three... Get loose now!" Got that song stuck in your head? Here's "It Takes Two make a Think go Right" (for my fellow the Rob Base & D.J. Easy Rock fans). :-D And of course, "Joy & Pain" too!
Read More
Posted in Distress-Inks-etc, Purple-Onion-Designs, techniques, Tutorials | No comments

Wednesday, 6 June 2012

Wrinkle-free Distress Ink technique

Posted on 13:30 by Unknown
Digital stuff is a delight, but don't you just love the
pure fun of getting inky with rubber stamps?

Purple Onion Design balloon on the wind

"let the wind take you away!"

You might not be able to tell from the usual style of cards around this joint that I am obsessed with Distress Inks. I just finished making 44 custom spray inks with Distress Ink refills that I can't wait to show you, in detail.

(Not to mention all kinds of obsessive organizing
that just makes my heart sing with happy):

Distress Ink - labels - DIY sprays - reinker indexing

card


The sky background: This card is my real first try at the wrinkle free Distress Ink technique invented by Tim Holtz. I tried it way back when, with other inks, but it is much more vibrant and textural with Distress inks. I used these inks: Pine Needles, Tumbled Glass, Broken China, and Iced Spruce.

painted clouds

To make the clouds...

- I doodled some cloud shapes & cut out them out.
- Swiped over them with white acrylic paint & let it dry.
- Adhered them to the Distress Ink background.
- Pierced & stitched the outline with white thread.

purple onion designs stitched balloon

To add the balloon...

- I stamped the Purple Onion Designs balloon on patterned paper (Crate paper Paper Heart 6x6).
- Then to make a quick template for stitching the string out of black thread, I cut a scrap of clear plastic from some packaging and stamped the balloon again (in stazon so it would be permanent) pierced holes in the plastic:

balloon string piercing template

- Then I laid it over my card, and pierced holes where the string would be... and hand stitched the balloon string with a needle and black thread.
- Finally, the balloon itself is covered in clear lacquer glue to make it shiny & popped up on foam dots for dimension.

To add the sentiment...

- I stamped the sentiment in silver on tracing paper.
- Then heat embossed it with silver embossing powder.
- Finally I cut it out & adhered the tracing paper to the bottom of the clouds with gluestick and added a couple of hand stitches at either side to anchor each word visually.


(white Distress Stain edging)

Ever feel like the edges of the card need something
to tie all the elements together visually?

Sometimes white paint is just the thing, but sometimes pure paint is too bold.
The one Distress Stain I've tried out (the white one Picket Fence) is perfect...

Distress Stain card edges to finish them

If you swipe it around the edges once you get a soft white look
& you can go around a couple more times, layering it for bolder white.

If you have white Distress Stain, you might be interested
in this
Painted Distress Ink tutorial:
Purple Onion Designs Harlequine card DIY acetate tag4 Soften ink & blend with picket fence distress stain over it a little or a lot since you can build the layers


The balloon stamp & Sentiment are from Purple
Onion Designs' The Sweetest Day collection:


&

The Purple Onion Designs blog is filled with
lots of gorgeous stuff, if you want some inspiration:


  • Stazon ink & clear plastic packaging for piercing template
  • Paper piercer, needle & black and white thread
  • Patterned paper: Crate paper Paper Heart 6x6
  • White cardstock, white acrylic paint, and Tracing paper
  • Silver pigment ink, silver embossing powder, a heat gun
  • Distress Inks: Pine Needles, Tumbled Glass, Broken China, and Iced Spruce.
  • Scor-Pal Stay Put Craft Mat
  • Distress Stain (white) Picket Fence


Here's hoping your day is delightful one,


P.S. If you're curious about the wrinkle free Distress Ink technique you can see Tim's video for it here. And he has many more videos on his new site here.

P.S. Downloading excitement!!! Thank you all so much for liking the overlays. You all made my week with your kind words! Sorry about the downloading troubles in Chrome or Explorer. If you check that overlay and other freebie posts, you'll find that downloading from any browser just got a lot simpler. Thanks again, Suruha You're the best!
Read More
Posted in cheap-tricks, Distress-Inks-etc, Purple-Onion-Designs, techniques | No comments
Older Posts Home
Subscribe to: Posts (Atom)

Popular Posts

  • free Butterfly Silhouette .studio cut files (in 3 styles)
    Hi, All! Here are those butterfly Silhouette .studio cut files. They are for only for the Silhouette machine... But I do hope to share other...
  • Graphics Fairy Inspiration (+vintage printables)
    Thank You all so much for your wonderful comments about the papers I've been obsessed with. Your kind words make me grin so big that I g...
  • New Popcorn Box template set (pretty stamp room storage) :o)
    Are you in the mood for a template or two? I was going to wait until I had really good photos and a full pictorial, but then I would take fo...
  • "Honey, I shrunk the stationery!" (Hero Arts typewriter notebook)
    Still trying to make more of my cards into little gifts. This Hero Arts typewriter card is another take on the card turned refillable notebo...
  • Making Your Own Colour Shimmer Sprays--Links & Info
    Info & Links Links for how to Mak e yo ur o w n Sh im mery s prays: (These are for you sweet Beth! oxo) ( more info on these colours in...
  • over 100 free pattern overlays ... at a glance
    Would you believe that the free overlay total is at 139 overlays and counting? (I might have a wee little addiction) ;-) Since overlays can ...
  • Felt-based cards (Rock-a-Bye Baby tutorial)
    New idea, Old projects.... I've been debating whether or not to post some older projects/tutorials since the big bad insecurity beast...
  • Circle Overlays (to revamp your papers!)
    Can you ever have too many ways to use your stash? No card today, just popping in with a cheap trick for revamping your "old" pat...
  • Everything I've Ever Made (at a glance)
    This post is a visual overview of my blog history-- with thumbnails that are linked to tutorials & templates for pretty much everything ...
  • 3 Clean And Simple cards (with SRM stickers)
    You guys may know that I was tragically born without the gene that let's you achieve a C lean A nd S imple card. ;-) Not sure why I find...

Categories

  • 'Mouse'-the-cat (10)
  • *TEMPLATEs (98)
  • 3D-projects (144)
  • A-Day-For-Daisies (7)
  • Amber Ink (9)
  • Angel's-Landing (2)
  • BASICS (47)
  • Blogging-tips (7)
  • Caardvarks (48)
  • Cat's-Pajamas (2)
  • cheap-tricks (224)
  • Christmas (33)
  • Claire-Keay (2)
  • Cricut (3)
  • cut-file (2)
  • Cuttlebug (45)
  • decor (6)
  • Digital-Images (131)
  • Distress-Inks-etc (14)
  • DIYstamps (1)
  • Eat-Cake-Graphics (11)
  • Faves (207)
  • Fred-She-Said (5)
  • Freebies (77)
  • GESSO (9)
  • Halloween (10)
  • Heather Ellis (3)
  • Hero-Arts (14)
  • ISC (7)
  • Jessica-Sprague (2)
  • Just-Rite (2)
  • LPS (63)
  • Mo's-Digital-Pencil (16)
  • My-Favorite-Things (33)
  • organizing (7)
  • Other-People's-Tutorials (36)
  • Paper-Garden-Projects (54)
  • Paper-Temptress (39)
  • Punches (21)
  • Purple-Onion-Designs (23)
  • S.U. (1)
  • SCOR-PAL (4)
  • silhouette (4)
  • Skipping-Stones-Design (7)
  • Squigglefly (6)
  • SRM-Stickers (8)
  • techniques (191)
  • templates (26)
  • Tiffany-Doodles (4)
  • Tutorials (252)

Blog Archive

  • ▼  2013 (16)
    • ▼  July (4)
      • A Triple-stamped Fancy-cut Flower card
      • Flying by to say ... 'hello'
      • a Silhouette Challenge project
      • Silhouette Cameo - Sketch pen Camera card
    • ►  June (4)
    • ►  May (3)
    • ►  April (1)
    • ►  March (1)
    • ►  February (3)
  • ►  2012 (53)
    • ►  December (2)
    • ►  November (2)
    • ►  October (1)
    • ►  August (3)
    • ►  July (2)
    • ►  June (5)
    • ►  May (7)
    • ►  April (8)
    • ►  March (9)
    • ►  February (13)
    • ►  January (1)
  • ►  2011 (74)
    • ►  December (1)
    • ►  November (5)
    • ►  October (10)
    • ►  September (9)
    • ►  August (12)
    • ►  July (5)
    • ►  June (9)
    • ►  May (2)
    • ►  April (6)
    • ►  March (7)
    • ►  February (4)
    • ►  January (4)
  • ►  2010 (84)
    • ►  December (7)
    • ►  October (1)
    • ►  September (6)
    • ►  August (1)
    • ►  June (1)
    • ►  May (7)
    • ►  April (21)
    • ►  March (3)
    • ►  February (17)
    • ►  January (20)
  • ►  2009 (234)
    • ►  December (16)
    • ►  November (21)
    • ►  October (11)
    • ►  September (23)
    • ►  August (29)
    • ►  July (26)
    • ►  June (10)
    • ►  May (16)
    • ►  April (26)
    • ►  March (22)
    • ►  February (27)
    • ►  January (7)
  • ►  2008 (39)
    • ►  December (14)
    • ►  November (25)
Powered by Blogger.

About Me

Unknown
View my complete profile