StampznewBright

  • Subscribe to our RSS feed.
  • Twitter
  • StumbleUpon
  • Reddit
  • Facebook
  • Digg
Showing posts with label LPS. Show all posts

Wednesday, 18 November 2009

Angel's Landing tutorial & a new(?) square punch scallop edge

Posted on 10:00 by Unknown
(If you're looking for the Cuttlebug Challenge
Festival of Lights, please scroll down or click here.)


For the Angel's Landing Hop, please scroll or click here.

and now for the pictorial schtuff...


Here's that tutorial for the Angel's Landing card posted this morn'
Hope you enjoyed the hop & Thanks so much for checking this out!


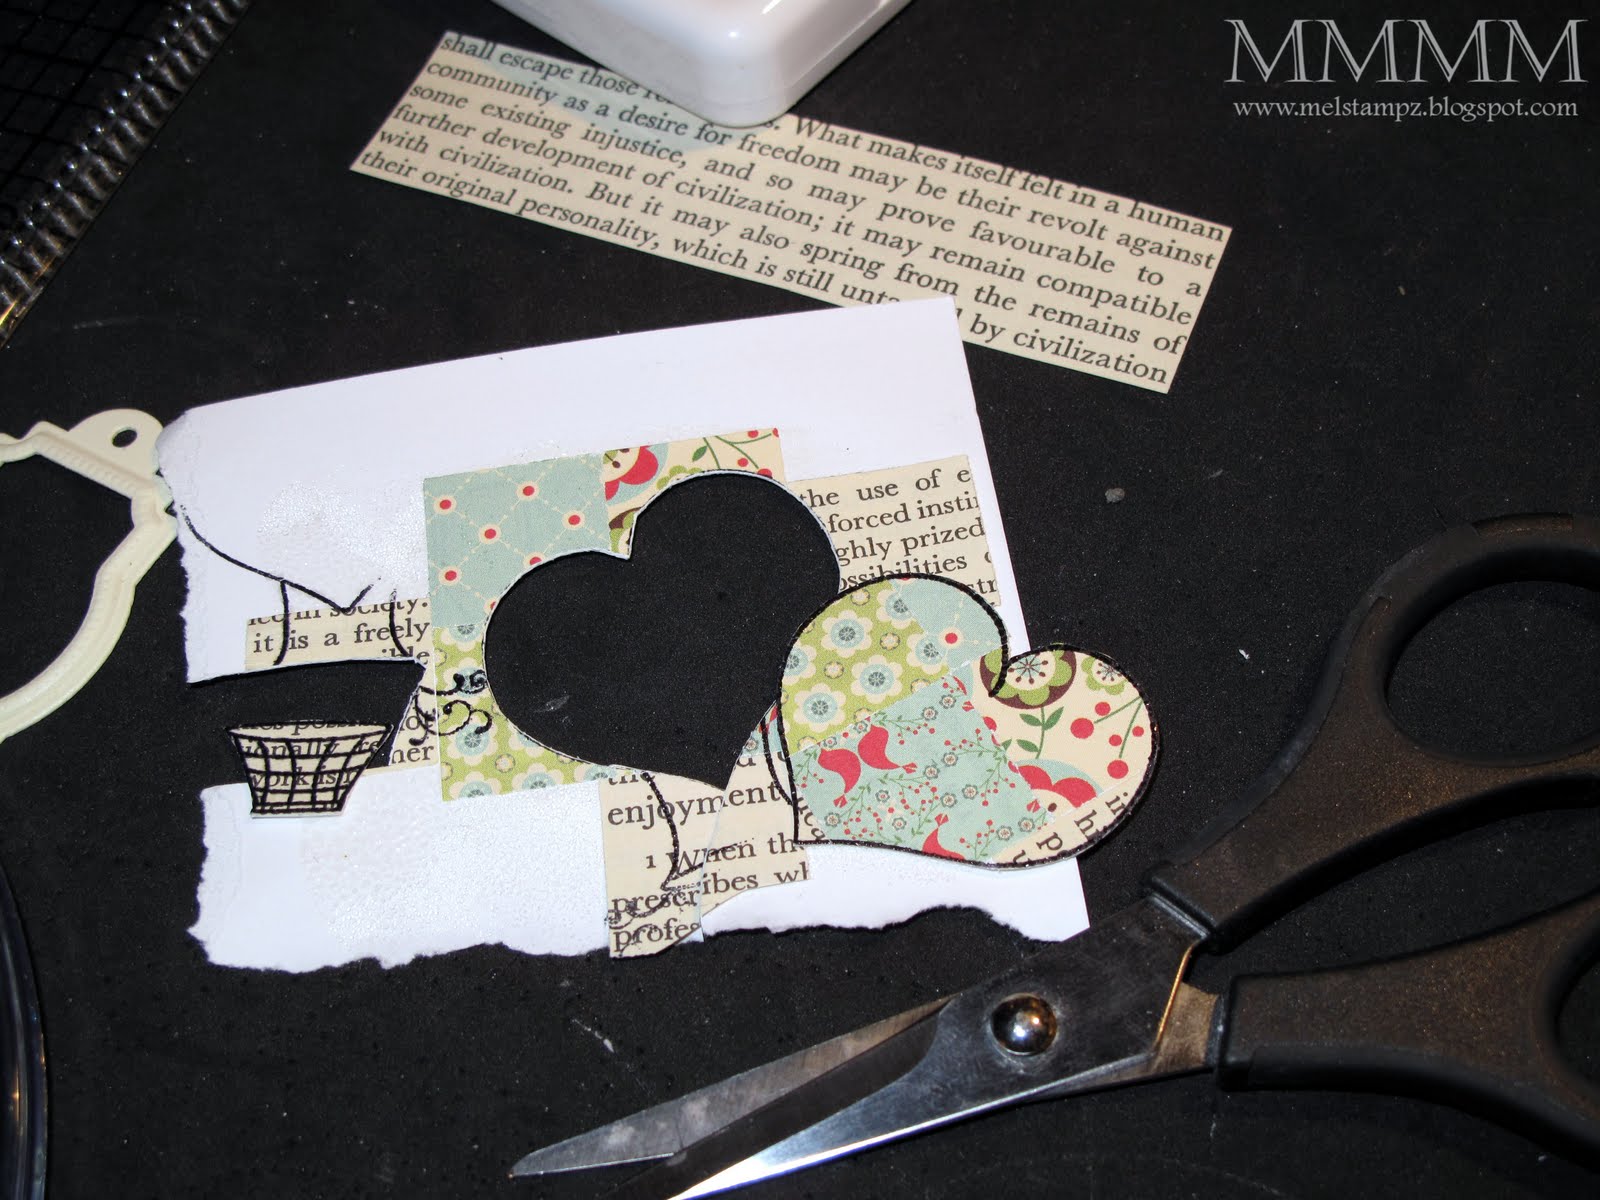
Step 1) Cut a circle of cardstock & cover it with patterned paper:


(this circle is 4 3/4 inches in diameter to fit a 5 1/2 inch card)

Step 2) Make a stitched butterfly trail:

2A) Use the Angel's Landing "flight-trail-left" (from the new Button Bugs set) as a piercing template by:

--printing it at 120% on copy paper.
--laying it over the circle and piercing through into your image.
--Then, stitching with needle & thread or faux stitches.

(I added the flower on my image as an anchor for where I wanted the trail, since my paper pieces are in panels & I wanted them to run diagonally...)

2B)
Pierce & stitch around the outside of the circle. (I used thread that matched the Kraft background.)


Step 3) Print different sizes of the Simply Flowers (also from Angel's Landing).

This paper (from GCD Studios Paris Nights collection is one of three kinds of cardstocks on this card that lets you emboss from the printer.) I printed the flowers in gray--in hopes that the butterfly would stand out more--and quickly sprinkled clear embossing powder on (as soon as the paper came out of my printer, then heat set the embossing powder & cut the flowers out.)


Step 4) Print the angel's Landing Butterfly--at 120% (He's in the Button Bugs set too.)

He's printed here on Smoothie lustre cardstock from Paper Temptress--which also lets you emboss straight out of the printer (I used embossing powder with some glitter mixed in this time, so this fellow would have some shine.)


Step 5) Print the angel's Landing Butterfly a second time--smaller: at 100% this time--on vellum cardstock (which--you guessed it--also lets you emboss from your printer.) Cut off the antennae for this layer.


Step 6) To make super inexpensive buttons & baubles, I adhered clear embellishments to catalogue paper. (Cosmo Cricket Summer '09 cattie--which I'm addicted to cutting up!) They're stuck on with Crystal Lacquer & the holes are repierced with a paper piercer so I could sew them on the flowers & glue them to the butterfly:


Step 7) Add crystals on his antennae & Layer the butterflies--adding the baubles & button. (The smaller bauble pieces on him are dew drops.)


Step 8) Glue your button butterfly to the card. :o)


Step 9) Add button centers (with thread stitched on) to the zinnias.


Square punch scallop edge


Hopefully, this is a new way to use your scallop square punch to save you some
money & give you a fancy schmancy edge...

(I used it here on the circle, but of course it would work on other shapes or card edges too)


Step 1) Punch some scallop squares & cut them into quarters (no need to cut perfectly but around the middle...)


Step 2) A little cheat for easy-peasy spacing: adhering a flower or some other design element that will cover one edge of your shape lets you sneak & space them quickly, the little gap you might end up with at the end is hidden by the flower (or other doohickey)


Step 3) Adhere the quartered scallop square pieces onto the back of the circle (or other shape) spacing them evenly. I like Tombow Monomulti (partly set up or dried) since it lets you move the shapes around to get them even, yet still holds nicely.


Step 4) Here's the look you get with the plain squares. Kind of an unusual scallop?


Step 5) You can adhere gems or other bits & bobs. I wanted to punch some holes for an eyelet look, but something that lurks in my craft room must have ate my hole punch, LOL. ;o)

And that's it...

(P.S. The sentiment "You made my day" is from the
LPS acrylic stamp set Butterflies & Blossoms
It's curved & stamped on vellum.)

Thank You ever so much for fluttering by,


Read More
Posted in Angel's-Landing, cheap-tricks, Faves, LPS, Tutorials | No comments

Tuesday, 17 November 2009

LPS release day {I Heart} & {For You}

Posted on 10:10 by Unknown
please click the photos, if you'd like to see larger versions

This balloon cutie is one of the stamps in the Little Paper Shop's new
stamp set {i Heart} It's perfect for
paper piecing...so I did a little quilted paper piece
with catalogue scraps...


The words on the two backgrounds are all from
the other new LPS set {For You}


1...new & nifty LPS sets release today!
2...quilted paper piecing
3...two types of embossed backgrounds
4...cheap tricks: DIY custom chip board (from stamps/digis paper & glue)
&...Copic coloured mats

-1-
Today is an LPS release day!!!

{I Heart}

{I Heart} Gallery

+
{For You}
{For You} Gallery

And there's a big sale on sale too!
Read all about it HERE on the LPS blog, if you like:

:o)

-2-
...quilted paper piecing


Stamps: new LPS stamps: {I Heart} & {For You}
  • Paper Temptress Cream Velvet Touch cardstock
  • Patterned paper scraps (or catologue or magazine bits)
  • 3/4" square punch (by Paper Shapers)
  • Tombow monomulti & Scrap cardstock
  • Black Pigment & Versamark ink, clear embossing powder, heat gun
  • Light Turquoise ink & a sponge
  • white pigment ink & white embossing powder
  • Sharp scissors
  • Cosmo Cricket Everafter paper (Something Blue) (red round mat)
  • Copic markers (browns & a red)
  • Book paper, Siver gel pen & Sakura stardust glitter pen
  • Dotted paper is (GCD Party it Up collection)
  • Cream ribbon is May Arts


Step 1} punch some squares. Enough to cover a section (and a little larger) than the stamp you want to paper piece)

Tools: I used a 3/4" square punch (by Paper Shapers) Of course, any square/rectangular... punch or cuts made by hand will do nicely.)

Cheap trick: This is a handy way to use up wee scraps or magazine pages. This is the Cosmo Cricket Summer 2009 catalogue again. ;o)


Step 2} Spread some adhesive on a piece of paper (in a section larger than the stamp you want to paper piece.)


Step 3} Stick your squares on it in a pleasing pattern


Step 4}
Stamp (or emboss your image)

Digital TIP: This would work with digital images too. Just make sure you start off by gluing the bits on a full sheet to fit your printer & have no excess glue to gum things up, of course.


Step 5} Cut out your image. I also stamped the cute little basket for the balloon (on the left) over text paper & coloured it with Copic markers...

...and added little silver gel pen stitches to the balloon as well :


-3-
two types of embossed backgrounds:


Create the round thrice-embossed background:

A) Cut a white circle of cardstock
B) Heat Emboss the {i Heart} balloon in black ink & clear e.p.
C) Heat Emboss the sentiments from {For You} over that in clear....and.....


....then...
D) Sponge on light turquoise ink
E) Run it through a Cuttlebug folder to dry emboss it


Make an embossed sentiment background:


A) Cut some cardstock to fit your card (this is Cream Velvet Touch--it's like fabric paper!)
B) Stick sentiments (these are all from {For You})
C) Emboss the sentiments using white pigment ink & white embossing powder


Finishing the card off...
  • Doodle & cut out some clouds onto paper from an old book.
  • Add silver gel pen & Stardust glitter to the cloud outline...
  • Pre-Layer everything onto the card to decide on the layout...
  • Adhere the two clouds & bead the edge of the mat (if you like)
  • Cut dotted paper (GCD Party it Up collection) & May Arts ribbon
  • Glue it all together :o)


-4-
Homemade Custom chipboard:
(with stamped/printed images)


The balloon & the clouds are all layered using this
ultra affordable way to get dimension:


Homemade Custom chipboard:

A) Stamp & embellish your image however you like.
B) Adhere a couple of layers of scrap paper together (a little larger than your stamped image.)
C) Stick your stamped image on the layered cardstock & cut it out
D) Adhere it to your project:


What I like about this sneaky chipboard:
  • It's couldn't cost less if it tried!
  • It's really easy, & really speedy to make
  • It uses up scraps of cardstock (any colour)
  • It feels nice & dense (though it does have a little weight to it)
  • You can make it as thin or thick as you like
  • Adds dimension that costs way less than foam tapes
  • More pleasing aesthetically than foam tape & more durable
  • It's also acid free (assuming your paper & adhesive are acid free)
  • You could make it any colour you like by gluing that colour of cardstock or....
  • You can colour the sides of the "chipboard" with a marker (match backgrounds)
  • Makes great gifts: card/scrapbook candy ornaments, pendants, magnets...
  • It's easy to glitter or embellish for funky custom looks
  • You could even stitch/ bead it by working up your first image layer & then gluing on the layers to hide stitches
and an old cheapy...

colour patterned paper with a marker
to get a custom colour mat to
match your image or patterned paper just-so.


Thanks so much for flying by today!
Hope your day is a lovely lovely lovely one,
:o)
mel
Read More
Posted in cheap-tricks, Cuttlebug, Faves, LPS, Paper-Temptress, Punches, techniques, Tutorials | No comments
Older Posts Home
Subscribe to: Posts (Atom)

Popular Posts

  • free Butterfly Silhouette .studio cut files (in 3 styles)
    Hi, All! Here are those butterfly Silhouette .studio cut files. They are for only for the Silhouette machine... But I do hope to share other...
  • Graphics Fairy Inspiration (+vintage printables)
    Thank You all so much for your wonderful comments about the papers I've been obsessed with. Your kind words make me grin so big that I g...
  • New Popcorn Box template set (pretty stamp room storage) :o)
    Are you in the mood for a template or two? I was going to wait until I had really good photos and a full pictorial, but then I would take fo...
  • "Honey, I shrunk the stationery!" (Hero Arts typewriter notebook)
    Still trying to make more of my cards into little gifts. This Hero Arts typewriter card is another take on the card turned refillable notebo...
  • Making Your Own Colour Shimmer Sprays--Links & Info
    Info & Links Links for how to Mak e yo ur o w n Sh im mery s prays: (These are for you sweet Beth! oxo) ( more info on these colours in...
  • over 100 free pattern overlays ... at a glance
    Would you believe that the free overlay total is at 139 overlays and counting? (I might have a wee little addiction) ;-) Since overlays can ...
  • Felt-based cards (Rock-a-Bye Baby tutorial)
    New idea, Old projects.... I've been debating whether or not to post some older projects/tutorials since the big bad insecurity beast...
  • Circle Overlays (to revamp your papers!)
    Can you ever have too many ways to use your stash? No card today, just popping in with a cheap trick for revamping your "old" pat...
  • Everything I've Ever Made (at a glance)
    This post is a visual overview of my blog history-- with thumbnails that are linked to tutorials & templates for pretty much everything ...
  • 3 Clean And Simple cards (with SRM stickers)
    You guys may know that I was tragically born without the gene that let's you achieve a C lean A nd S imple card. ;-) Not sure why I find...

Categories

  • 'Mouse'-the-cat (10)
  • *TEMPLATEs (98)
  • 3D-projects (144)
  • A-Day-For-Daisies (7)
  • Amber Ink (9)
  • Angel's-Landing (2)
  • BASICS (47)
  • Blogging-tips (7)
  • Caardvarks (48)
  • Cat's-Pajamas (2)
  • cheap-tricks (224)
  • Christmas (33)
  • Claire-Keay (2)
  • Cricut (3)
  • cut-file (2)
  • Cuttlebug (45)
  • decor (6)
  • Digital-Images (131)
  • Distress-Inks-etc (14)
  • DIYstamps (1)
  • Eat-Cake-Graphics (11)
  • Faves (207)
  • Fred-She-Said (5)
  • Freebies (77)
  • GESSO (9)
  • Halloween (10)
  • Heather Ellis (3)
  • Hero-Arts (14)
  • ISC (7)
  • Jessica-Sprague (2)
  • Just-Rite (2)
  • LPS (63)
  • Mo's-Digital-Pencil (16)
  • My-Favorite-Things (33)
  • organizing (7)
  • Other-People's-Tutorials (36)
  • Paper-Garden-Projects (54)
  • Paper-Temptress (39)
  • Punches (21)
  • Purple-Onion-Designs (23)
  • S.U. (1)
  • SCOR-PAL (4)
  • silhouette (4)
  • Skipping-Stones-Design (7)
  • Squigglefly (6)
  • SRM-Stickers (8)
  • techniques (191)
  • templates (26)
  • Tiffany-Doodles (4)
  • Tutorials (252)

Blog Archive

  • ▼  2013 (16)
    • ▼  July (4)
      • A Triple-stamped Fancy-cut Flower card
      • Flying by to say ... 'hello'
      • a Silhouette Challenge project
      • Silhouette Cameo - Sketch pen Camera card
    • ►  June (4)
    • ►  May (3)
    • ►  April (1)
    • ►  March (1)
    • ►  February (3)
  • ►  2012 (53)
    • ►  December (2)
    • ►  November (2)
    • ►  October (1)
    • ►  August (3)
    • ►  July (2)
    • ►  June (5)
    • ►  May (7)
    • ►  April (8)
    • ►  March (9)
    • ►  February (13)
    • ►  January (1)
  • ►  2011 (74)
    • ►  December (1)
    • ►  November (5)
    • ►  October (10)
    • ►  September (9)
    • ►  August (12)
    • ►  July (5)
    • ►  June (9)
    • ►  May (2)
    • ►  April (6)
    • ►  March (7)
    • ►  February (4)
    • ►  January (4)
  • ►  2010 (84)
    • ►  December (7)
    • ►  October (1)
    • ►  September (6)
    • ►  August (1)
    • ►  June (1)
    • ►  May (7)
    • ►  April (21)
    • ►  March (3)
    • ►  February (17)
    • ►  January (20)
  • ►  2009 (234)
    • ►  December (16)
    • ►  November (21)
    • ►  October (11)
    • ►  September (23)
    • ►  August (29)
    • ►  July (26)
    • ►  June (10)
    • ►  May (16)
    • ►  April (26)
    • ►  March (22)
    • ►  February (27)
    • ►  January (7)
  • ►  2008 (39)
    • ►  December (14)
    • ►  November (25)
Powered by Blogger.

About Me

Unknown
View my complete profile