


Trying to work on my stash of everyday cards
(and aiming to send more happy mail), so
here are two "just saying hi" type cards:
An A2 card
and a long & low one:

Both were made with this

from Squigglefly by Rich Davis
(Something I bought quite a while ago).
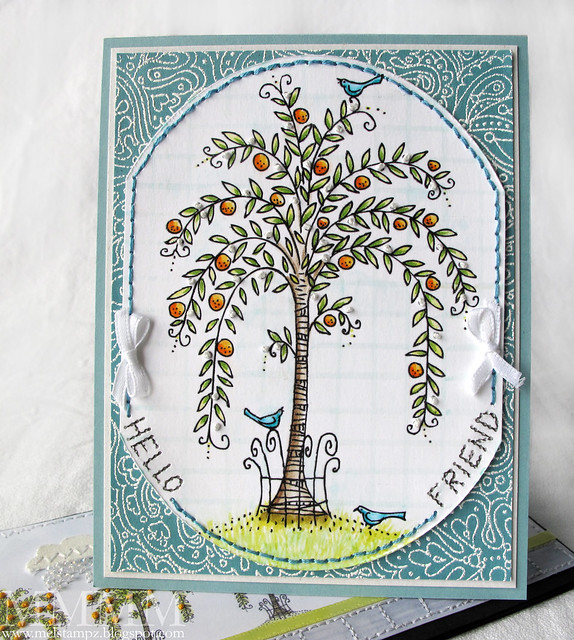
The first card, a simple A2 card, has the tree image on a large oval with
the sides cut off, to get something a little different shape to it:
The background stamp is Impression Obsession's
Funky Background heat embossed in white.
The image is heat embossed from an ink jet printer on
Paris Bleedproof cardstock & coloured with Copics:

Instead of colouring a sky, I just did a grid using light colours with a ruler.
Then coloured in the oranges, leaves & cute birdies...

The sentiment is faux-stitched. I drew it on with pencil, pierced holes
and coloured in stitches with a fine-tipped permanent black marker.

Then added knots of white thread on the tree.
The second card came about because the Willow tree
reminds me of a Paris street, for some reason, so I thought
I'd repeat the digi several times:
(I erased the little birdies from the image to simplify it a little bit)
and added knotty oranges:

...a stitched sidewalk and some clouds...

...with beaded rain.
and

(button backed sentiments):
The ribbon was white, but now it's coloured with a
Copic marker (Mimosa Yellow YG00):

The matching sentiment was made this way:
1) Type up a computer sentiment using a font you like.
2) Change the colour of the font to suit your project.
3) Print it out and punch it out (with one was punches with a 3/4" circle punch).
4) Pierce and stitch around the outer edge of the circle.
5) Colour the edge with marker or what have you (This one is coloured with Copics to match the ribbon).
6) Finally, glue the paper circle onto a clear button (or any button).
And that's all folks!
Hope you're having a lovely lovely week,


0 comments:
Post a Comment