


And now, for something trivial to transfer my "living-in-a-Vancouver-condo-that-shakes-a -lot-when-a-train-goes-by earthquake fears" onto:
Are you a little afraid of colour?
Sounds crazy, but secretly...
...I am.
I'm scared silly about using lots of colour.
To be honest it just feels bigger than me somehow.
But today I'm being brave
and getting BOLD:

Sounds crazy, but secretly...
...I am.
I'm scared silly about using lots of colour.
To be honest it just feels bigger than me somehow.
But today I'm being brave
and getting BOLD:
Okay, so I'm betting that the idea of homemade colour sprays is really nothing revolutionary to any of you crafty people, but it is sort of special for me, since having these ready-made shimmer colours is helping me be less boring! ;0)
(Those of you who've known me for a while can attest to my fear
of any shade that isn't in the turquoise family).
of any shade that isn't in the turquoise family).

No tutorial for this, sorry... Why reinvent the wheel though, right? There are many tutorials out there on how to make your own shimmery glimmery sprays or mists. I just used what I have on hand last night to make an intensely-saturated rainbow selection of them.
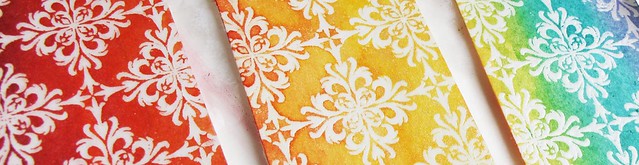
Here's a background I'm making using a stamp
that I was lucky enough to be given by
Heather at Skipping Stones Design:
that I was lucky enough to be given by
Heather at Skipping Stones Design:

Steps it took to make this shimmery resist:
Step 1) Stamp the Timeless Textures Background in Versamark on Watercolour paper (the smooth side of the paper if you have bumpy stuff).
Step 2) Cover the versamark with Clear embossing powder & heat it with a heat gun.
Step 3) Paint on the shimmer ink colours on with a brush (for more control than spritzing). Let it dry & to remove excess colour from the clear embossing, rub over the embossing with a rag.
and there you have it...

The middle design (used above) is having to duke it out in a
tumultuous battle with the bottom design (below)
to decide who will be my new all-time fave from Skipping Stones Design's
Timeless Textures set here:

(still not sure which one will be the ultimate winner)

tumultuous battle with the bottom design (below)
to decide who will be my new all-time fave from Skipping Stones Design's
Timeless Textures set here:
(still not sure which one will be the ultimate winner)

for do it yourself shimmer sprays
For colour: ink refills (I used S.U. Classic reinkers). I used about 40-60 drops of different ink mixes for very deep colour. Of course, you could use a little, test the colour out, and then add more until it's saturated to your liking.
Red: Ridinghood Red-30 drops; Bravo Burgundy-15 drops; Real Red-20 drops
Orange: Only Orange-25 drops; Really Rust 10 drops
Yellow: Barely Banana-30 drops; Summer Sun-10 drops
Green: Certain Celery-25 drops; kiwi kiss-15 drops; green galore-10 drops
Turquoise: Tempting Turquoise-35 drops; Soft Sky-20 drops
Violet: Soft Sky-15 drops; Lavender Lace 25 drops; Lovely Lilac-20 drops
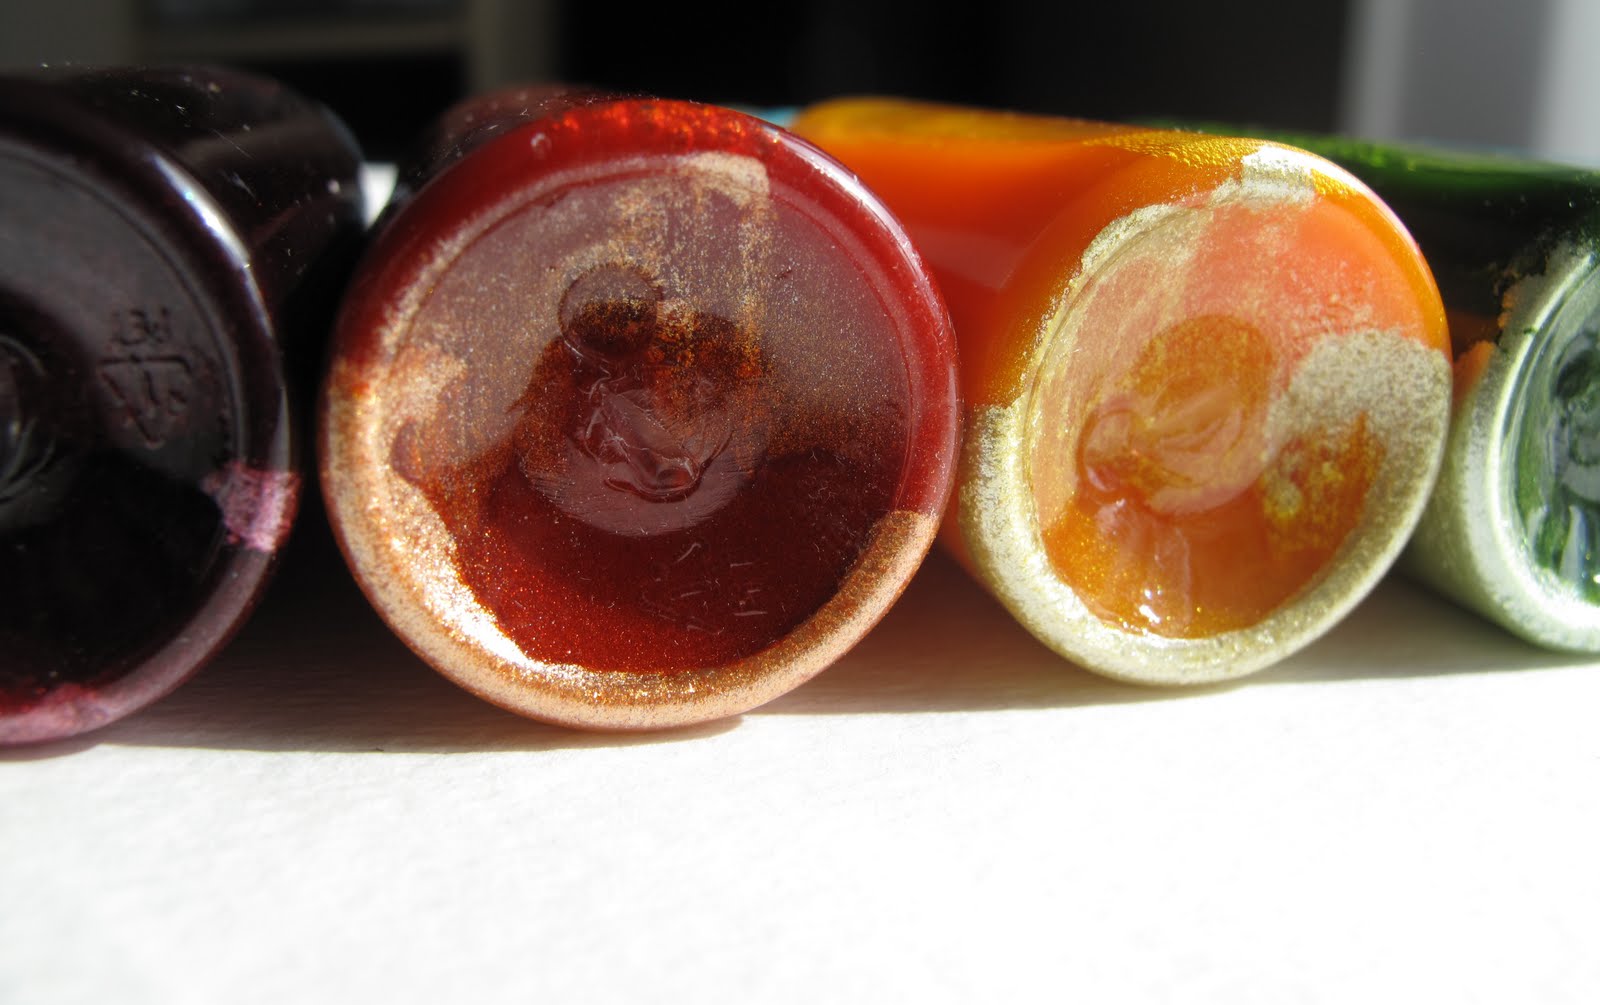
For shimmer: I used Lumiere Pearl White acrylic paint (similar to Tsukineko's Shimmer Paint, which is also sold by Stampin' Up as Shimmer Paint). For each, I used about a 1/4 tsp of the Lumiere paint. Again, you can always start with a little and add more.
For a carrier: I just used water, but you could use alcohol. The 99% rubbing alcohol is fab. I have some, but wanted smell free sprays to avoid headaches & I also wanted to avoid drying out my hands or any potential toxicity.
For the Bottles: I just used little 3 inch high spray bottles from the dollar store (found for a buck for the whole lot, in the cosmetic section).

However, you do get settling with the Lumiere as you can see here:

....and I'm worried the dollar store bottle spray contraption might clog since the "uptake hose part" is thin/fine (technical terms abound in this post, hey?) So... I've been shaking them carefully side to side (versus up and down like a mad woman). For experiment's sake, I have ordered 1 mini mister by Ranger to test out (Yup, one. How cheap am I, hey?)
For the labels: paper, circle punch, tacky glue

(I indexed the top of the bottle lids with paper labels to show the finished colour by: spritzing on paper, punching circles out, and gluing them on. If you want to keep the labels pretty, microglaze makes a quick waterproof seal: just rub some on the label.)
For mess avoidance: a piece of wax paper to protect your work surface.
For clean up: B& J's "The Master's" artist cleaning stuff is something that I've been meaning to tell you about for years. I have two products of theirs...
...the brush preserver/cleaner and some artist's soap:


I just opened the soap package today & it turns out that it is lovely for removing ink stains from your hands. Non-toxic too. Here's a description of the soap. (I have no affiliation; I just love it)
Here's a link a video on the brush cleaner. The brush cleaner/protector is amazing--especially for use on new brushes to fill the ferrule (metal part) and protect it from filling up with paint. Want to search some out? Here are the details: B&J® Original Formula "The Masters"® artist Hand Soap. Your local art supply store may carry it.
Blogger thumbnails (for those who prefer to click them):
Thanks so much for checkin' this out.
I hope you and yours are safe & well,

So, Have you ever made your own Shimmery sprays?I hope you and yours are safe & well,
If so, Do tell!
What's your experience with them?
Edited to add:
Links to a whole bunch of spray/
mist tutorials in this post here.
FRIENDLY WARNING: Using alcohol, or other blenders to make your sprays? Please consider reading this info on it. Basically, it is flammable & you should avoid inhalation. Can you just picture me wearing my respirator & safety goggles? (Seriously though.)
If you are considering putting Ranger Alcohol blending solution into sprays, please do not. Here is a post that warns against it since the blender has a resin that should never be sprayed or it can harm your eyes.


0 comments:
Post a Comment