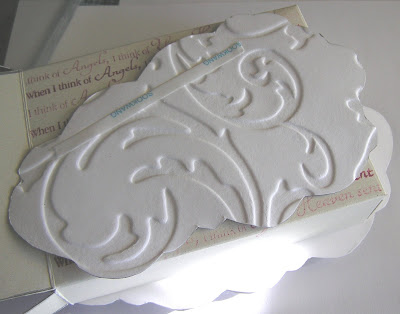
Nope, you're not mistaken; you've seen this before.
The details on the image, cloud texture, etc. are here:

:O) Today's a catch up kind of day: templates (and how-to make the box assemble the card.) In case anyone was curious...
Downloaded PDF cloud templates here
(with a mirrored version)
The details on the image, cloud texture, etc. are here:

:O) Today's a catch up kind of day: templates (and how-to make the box assemble the card.) In case anyone was curious...
Downloaded PDF cloud templates here
(with a mirrored version)
This template is for cloud shapes (no duh huh? heehee.) You can use 'em however you like, of course; I've used them with this angelic Little Paper Shop stamp set:
I love that she's so bootylicious. LOL. (How do you spell that?) Great to have images in the greater media that reflect more realistic female proportions. I think it really really matters. Okay ... off my soap box & onto how to make this card box.
It measures 3 and 1/2 by 4 and 1/2 inches
(easily made with one standard sheet of cardstock
that's cut to 8 by 10 inches)

(easily made with one standard sheet of cardstock
that's cut to 8 by 10 inches)

(If I don't make any sense, just lemme know.) ;O)
Assembling a Cloud Swing Card:

Step 1) Decide where you want your angel & pierce a hole for the brad that will make the card swing. (I used Cloud shape #2 for the front piece)

Step 2) Mark large cloud through pierced hole [I used the Large cloud shape #1 for the card front (that it swings open to]

Step 3) Pierce through cloud card front (where you marked)

Step 4) Put brad through 2 card cloud fronts. (It's so cool how that makes a swing card. Whoever thunk that up was a genius!)

Step 5) Put dimensionals/foam tape on the angel & sit her over brad on card front

Step 6) Adhere the cloud card to front & to back of box (FRONT: Whole swing card; BACK: shape #3) Then it swings open...
(For the other deets (making the clouds & angel) click here)


0 comments:
Post a Comment