No card since August? That has to be some kind of criminal offense.
Methinks my mojo has been paralyzed by rampant self-criticism.
So, here's a new card to break that nasty dry spell (with a little luck!) ;-)
The card is 7-3/4 inches wide x 3-3/4 inches tall, or about the size of a glass butter dish
as you can see in the picture (weird random coincidence). ;-)
The large sentiment is from this SRM Stickers 'Thanks' set. I sanded it to soften the look.
The card was made with these two papers...
I've just added some stitches:

(piercing for hand-stitching)
Sewing machines scare me, so I do all my stitching by hand (while watching TV).
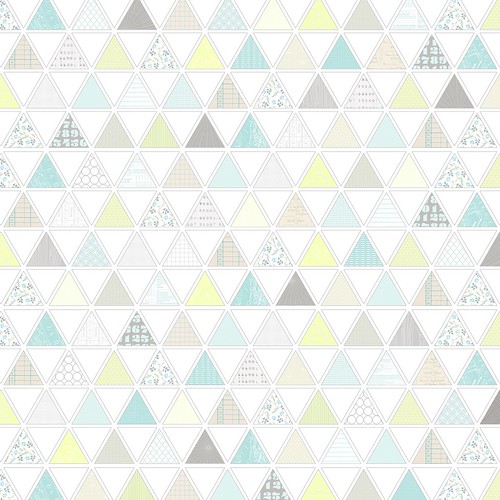
This triangle paper was particularly easy to sew. I just
pierced it free-hand (without a piercing ruler) since the lines are easy to follow:
A) Pierce in the middle of where the triangles meet:

B) Pierce in the middle of the side of the triangle:

C) Pierce in between those two holes:

D) And pierce in between again:

E) Then simply repeat for each side of each triangle and sew.
I just use regular old sewing thread on a needle and simply affix the ends
of the thread to the back of the paper with bits of tape as I stitch.
It actually goes quite quickly and it's very meditative, but if you're not a big chicken when it comes to a sewing machine then you may want to go for that instead. (One day I'll get brave enough... and get a sewing machine). :-)

(DIY large paper piercing mat)
This is something basic that I've been wanting to share with you for years:
a Scor-Pal DIY piercing mat made by layering fun foam/craft foam sheets to be about 1/4" thick.
(It's kind of like an Ikea-hack for your scoring board tool...)
Of course, if you have thicker foam available to you, you could just skip all my chatter
& cut a thick old piece of foam to size. I have never been able to find any. :-)

This particular piercing mat is made of 4 layers of fun foam sheets (cut to 12x12"), so it cost less than $5.00. If you don't have a Scor-Pal, you can use something else to support your mat, but I love how sturdy it is. It sits in the frame of the scoring board so it doesn't move around at all. And you can even pierce an entire scrapbook page because of the large 12x12 format.
I've used it for ages so it's a bit grubby now, but it's my very fave. *By the by, no Scor-Pals were harmed in the making of this mat (the plastic of the Scor-Pal is ultra durable so despite thousands of pierced holes there's no damage to the board underneath at all).
I pierce with this "MakingMemories deluxe paper piercer" tool:
(I've tried quite a few other piercing tools, but they all seem to make
overly large holes, so this one is my precious.)

To make your own custom piercing mat
(it's as easy as 1, 2, 3)
You will need just 3 basic materials: 1) black and white fun foam sheets 2) scissors 3) double-sided tape.
Step 1) Cut the fun foam sheets to measure 12x12" or the opening size of a Scor-Pal board. You can use a piece of 12x12 paper as your template (or just measure if you like). Fun foam cuts like butter.
TIP: make one side with black fun foam and one side with white, so that you can easily see the edges of cards, whether you are using dark or light cardstock, by flipping the mat over.
TIP: make one side with black fun foam and one side with white, so that you can easily see the edges of cards, whether you are using dark or light cardstock, by flipping the mat over.
Step 2) Apply strong double-sided tape all around the outside edges of 3 pieces and stick all 4 pieces together. (Try not to add any tape in the middle of the fun foam pieces, since you'll be piercing there and the tape would make your piercer gummy).
Step 3) Fit it into your Scor-Pal and you're good to go. (If the fit isn't perfect, it is quite easy to trim all 4 layers at once with strong scissors).
If you like you can add a thick piece of foam to serve as a pin cushion
(use some strong double-sided tape or glue to stick it on the Scor-Pal):

I stick a pencil in there too and sewing machine needles (for piercing square-shaped holes.)
As well as a little strawberry from an old fashioned pin cushion (it's a needle sharpener.)
I keep a bit of thread in each of my favourite needles so I can recognize
what each is for: embroidery floss, beading, regular sewing, etc.
Other modifications: a magnet to hold scissors for trimming & spools
of thread (stood up securely on hat pins).

(altering patterned papers):

I stick a pencil in there too and sewing machine needles (for piercing square-shaped holes.)
As well as a little strawberry from an old fashioned pin cushion (it's a needle sharpener.)
I keep a bit of thread in each of my favourite needles so I can recognize
what each is for: embroidery floss, beading, regular sewing, etc.
Other modifications: a magnet to hold scissors for trimming & spools
of thread (stood up securely on hat pins).

(altering patterned papers):
When I was ready to add the SRM "Thanks" sticker (on the greige Star paper flag)
the grey triangle in the pattern was competing with it visually,
so I cut a lined-paper triangle from the rest of the paper & glued it over the grey one:
the grey triangle in the pattern was competing with it visually,
so I cut a lined-paper triangle from the rest of the paper & glued it over the grey one:


